Hello everyone,
Getting a new miniature is always an exciting moment for a wargaming enthusiast. But before you can paint it and give it the appearance you want, there is one essential step to complete: preparation!
Considering the price of miniatures and the endless possibilities for customisation, it would be a shame to compromise the final result through poor preparation. Although this stage may seem repetitive and not particularly exciting, it plays an important role in the overall quality of your paint job.
Cleaning your miniature also gives you the opportunity to examine the sculpt, identify important details and start thinking about where you will apply shadows and highlights.
Miniatures can be made from plastic, metal or resin, as well as produced through 3D printing. Each material has its own characteristics and may require different techniques.
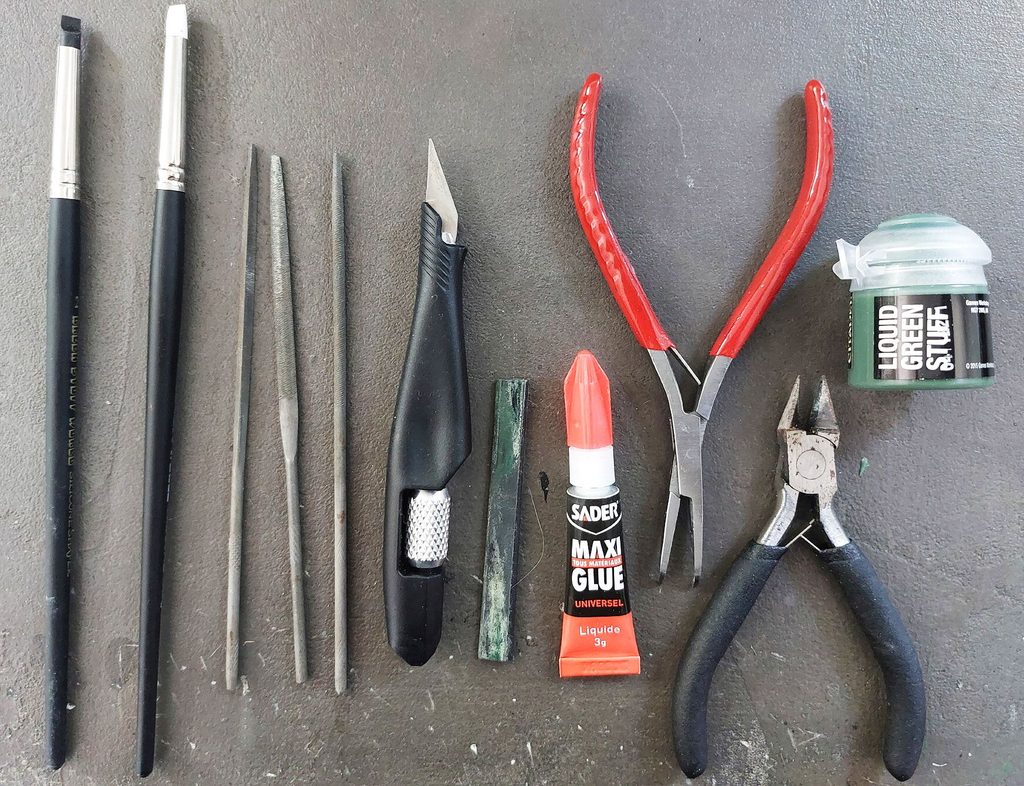
In this article, we will explore the main steps involved in properly preparing a miniature before painting.
Step 1: Removing Mould Lines and Excess Material
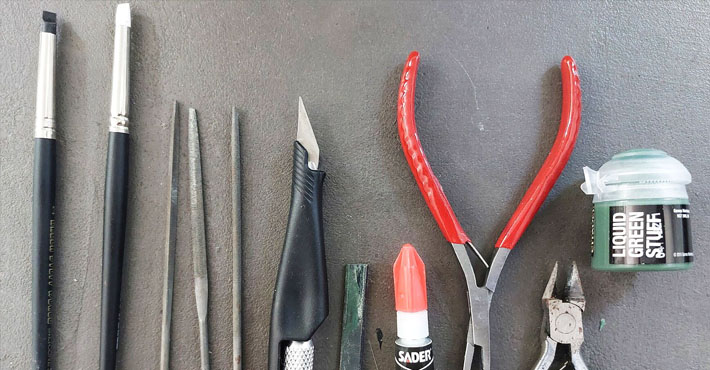
To begin, you will need a pair of clippers designed for miniature modelling. These will allow you to cleanly remove parts from their sprues, particularly with plastic kits, while reducing the risk of breaking delicate components.
Once the pieces have been removed, it is time to eliminate mould lines, excess material and any imperfections left behind during manufacturing. A small set of modelling files and a hobby knife will be your best allies. Fine abrasive paper can also be useful for certain pieces.
Take the time to inspect each component carefully. Mould lines can sometimes run across highly visible areas, such as faces, armour or weapons. It is therefore best to work your way around each piece to make sure you do not miss anything.
For fine mould lines, a file is often sufficient. A hobby knife can be more practical for reaching awkward areas. Always work carefully, keeping the blade away from your fingers and avoiding excessive pressure.
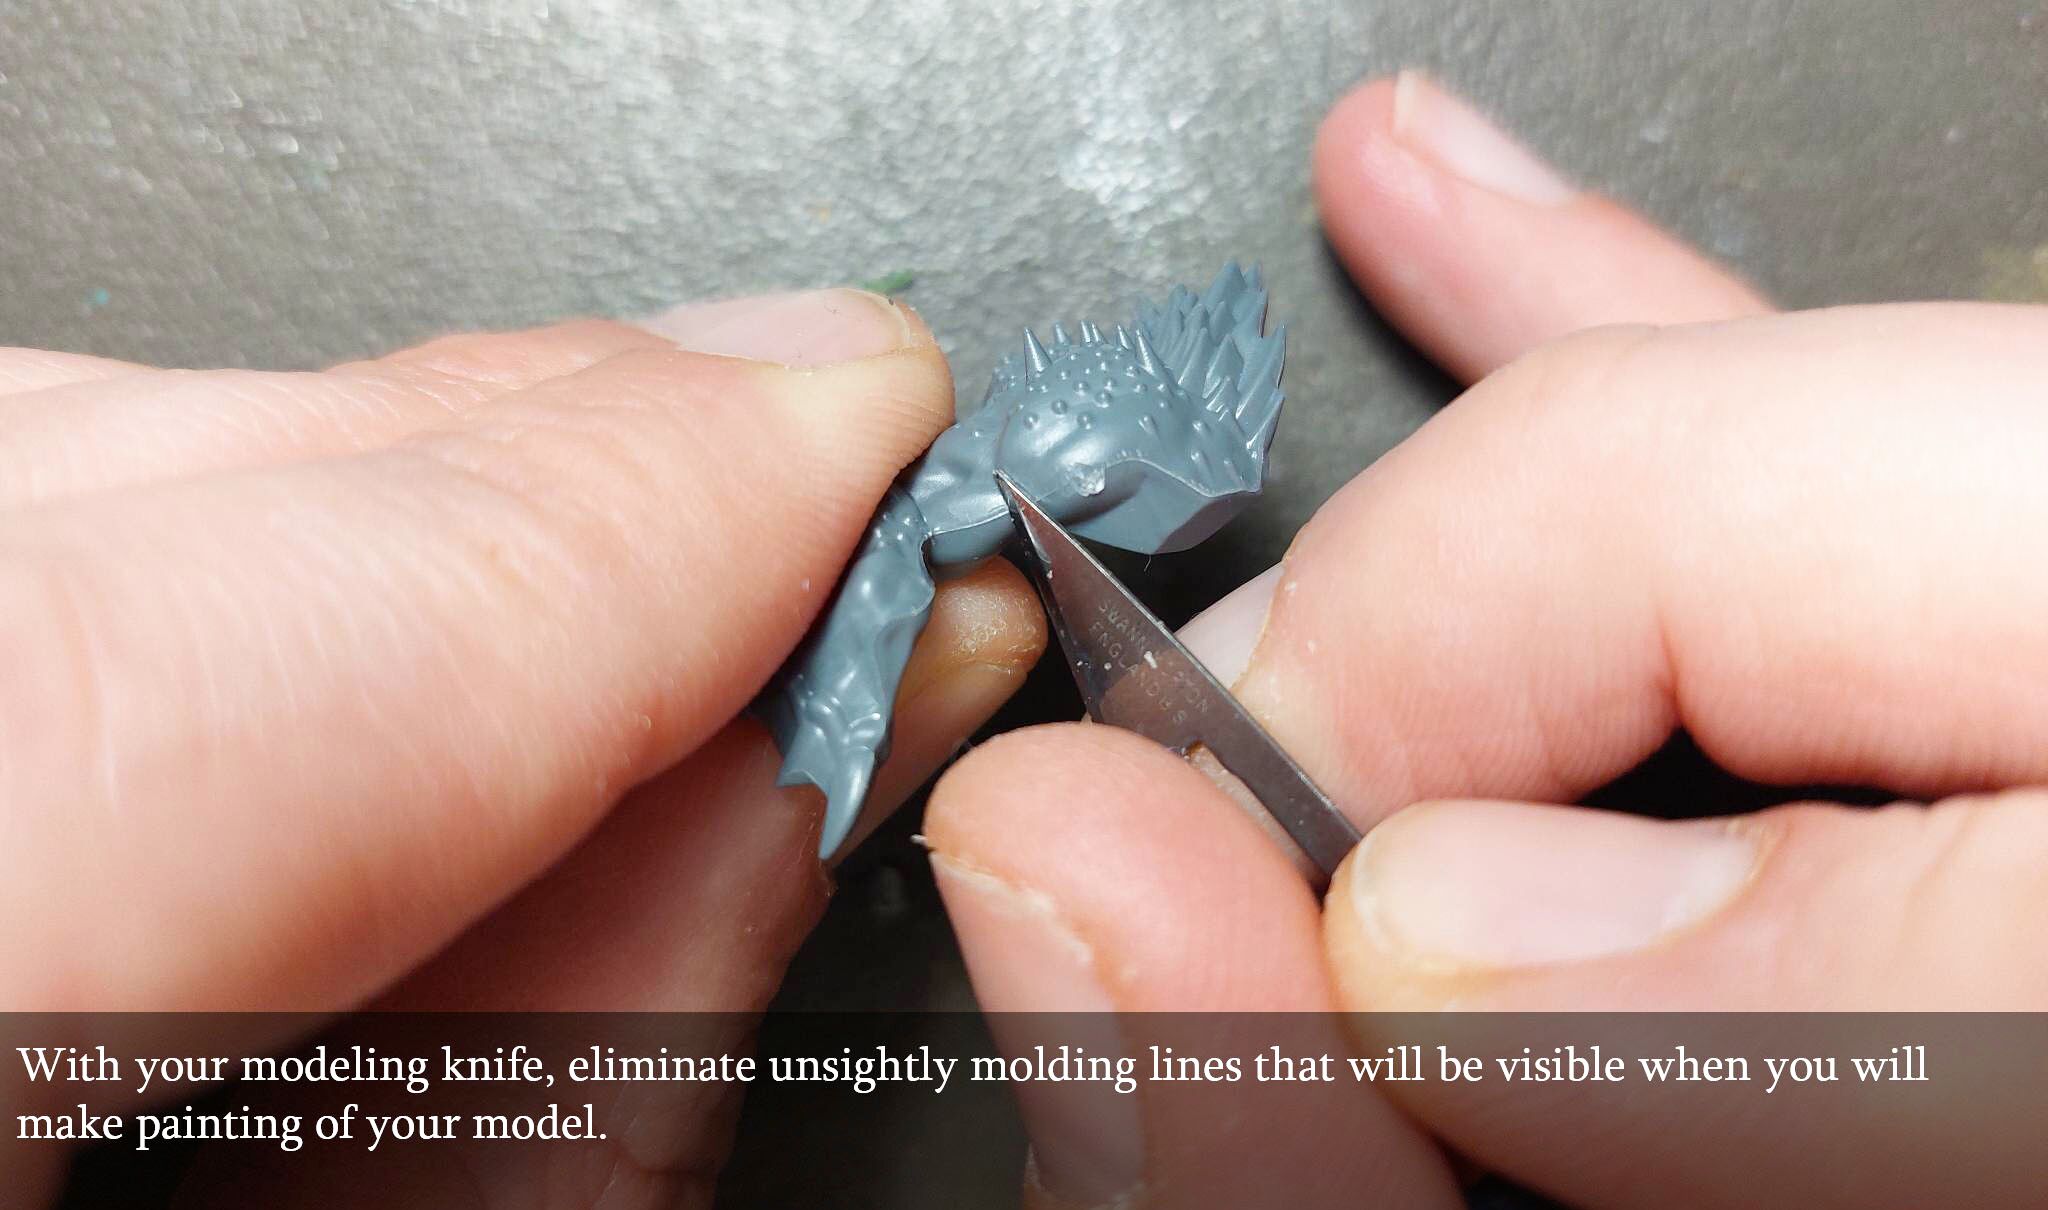
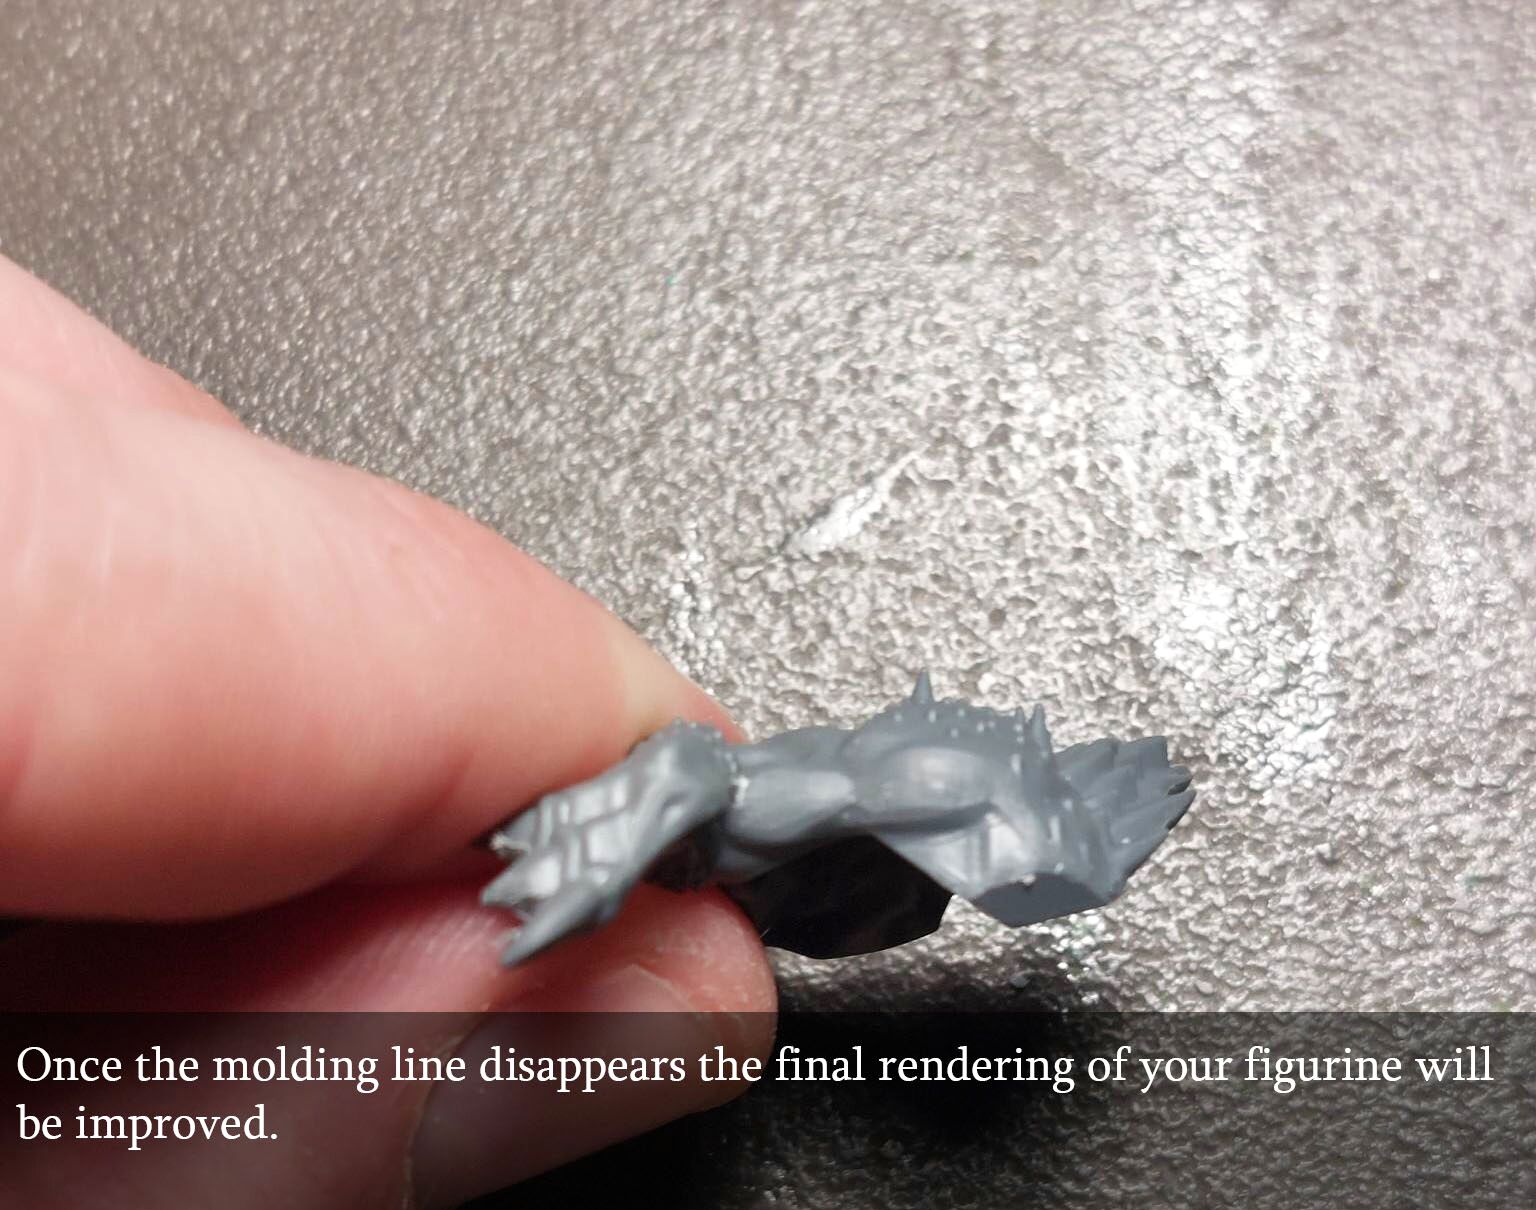
Before gluing the parts together, dry-fit them to check that they fit properly. If a gap appears between two components, you may need to remove a little material or adjust the contact surfaces.
Modern plastic miniatures generally fit together well, but older models, metal miniatures and resin kits may require more work. If you discover a major casting defect or a damaged part, contact the manufacturer or retailer before attempting a repair.
For miniatures intended for tabletop gaming, carefully removing the main mould lines is usually sufficient. Busts, large models and miniatures intended for a more advanced paint job may benefit from more thorough preparation.
Step 2: Sanding (Optional)
Sanding helps refine surfaces and remove small scratches or imperfections left behind during the cleaning process.
Fine abrasive paper, with a grit between 400 and 800, can be useful depending on the material and the type of imperfection. Work gradually without trying to make the surface perfectly smooth: an overly polished surface can make primer adhesion more difficult.
This step is particularly useful for certain metal miniatures, large resin pieces and 3D-printed models. Plastic miniatures should be sanded gently to avoid damaging fine details.
For more significant imperfections, modelling putty or sculpting compounds can be used. We will cover these in more detail in the section on filling gaps.
Step 3: Pinning and Reinforcing Parts
Some miniatures have particularly fragile components, such as long weapons, arms, wings or other parts that are prone to breaking. Reinforcing these joints helps make the assembly stronger and makes certain repairs more durable.
This technique, commonly known as pinning, involves drilling a small hole into each part and joining them with a short metal rod. It is particularly useful for metal miniatures and large models, but it can also be used on certain resin components.
You will need a modelling hand drill, suitable drill bits and a metal rod of the appropriate diameter. A piece of paper clip can work for some assemblies.
Carefully drill both parts, ensuring that the holes line up correctly. Applying a small amount of paint to the end of the rod can help mark the drilling position on the second component.
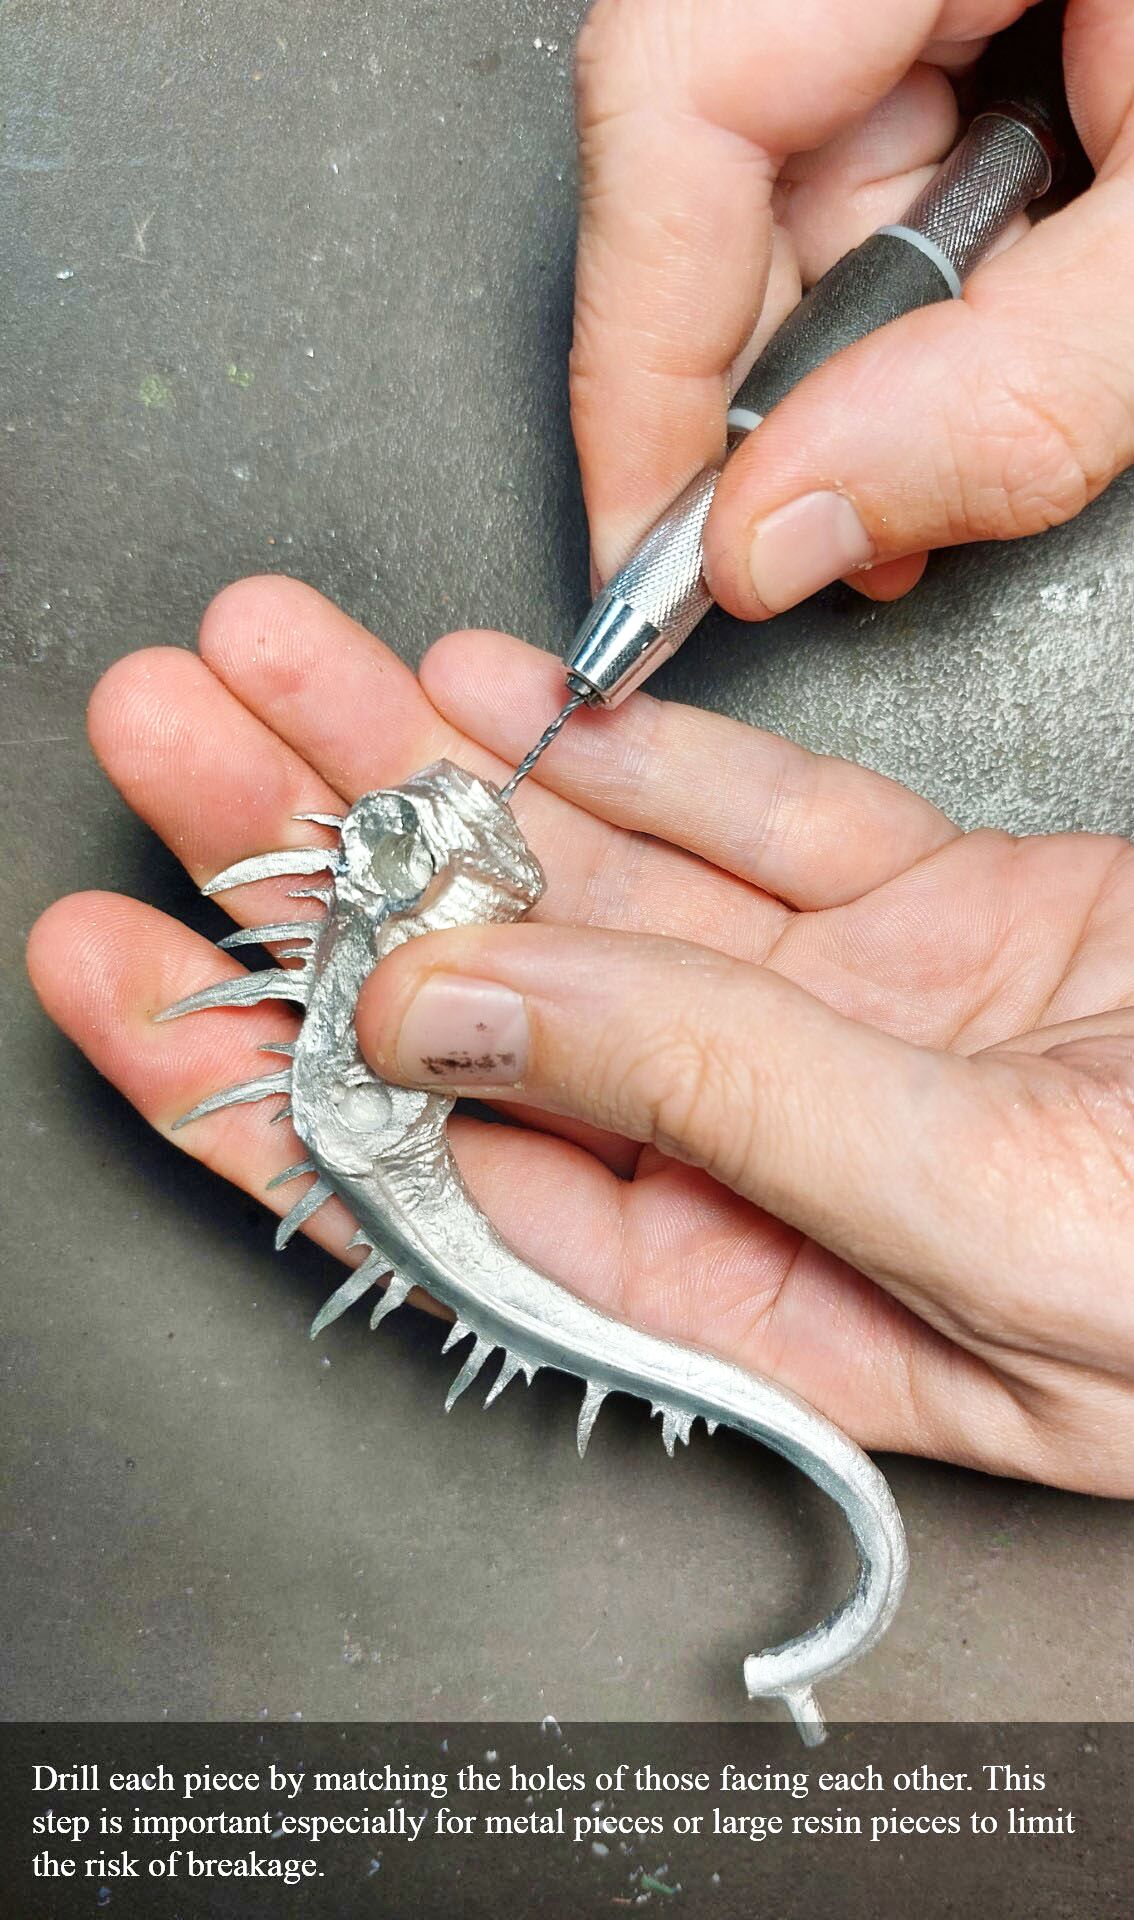
Check that the rod fits properly and that both parts meet without forcing them together. Drill bits are fragile, so work slowly and avoid applying excessive pressure. Be careful not to drill too deeply.
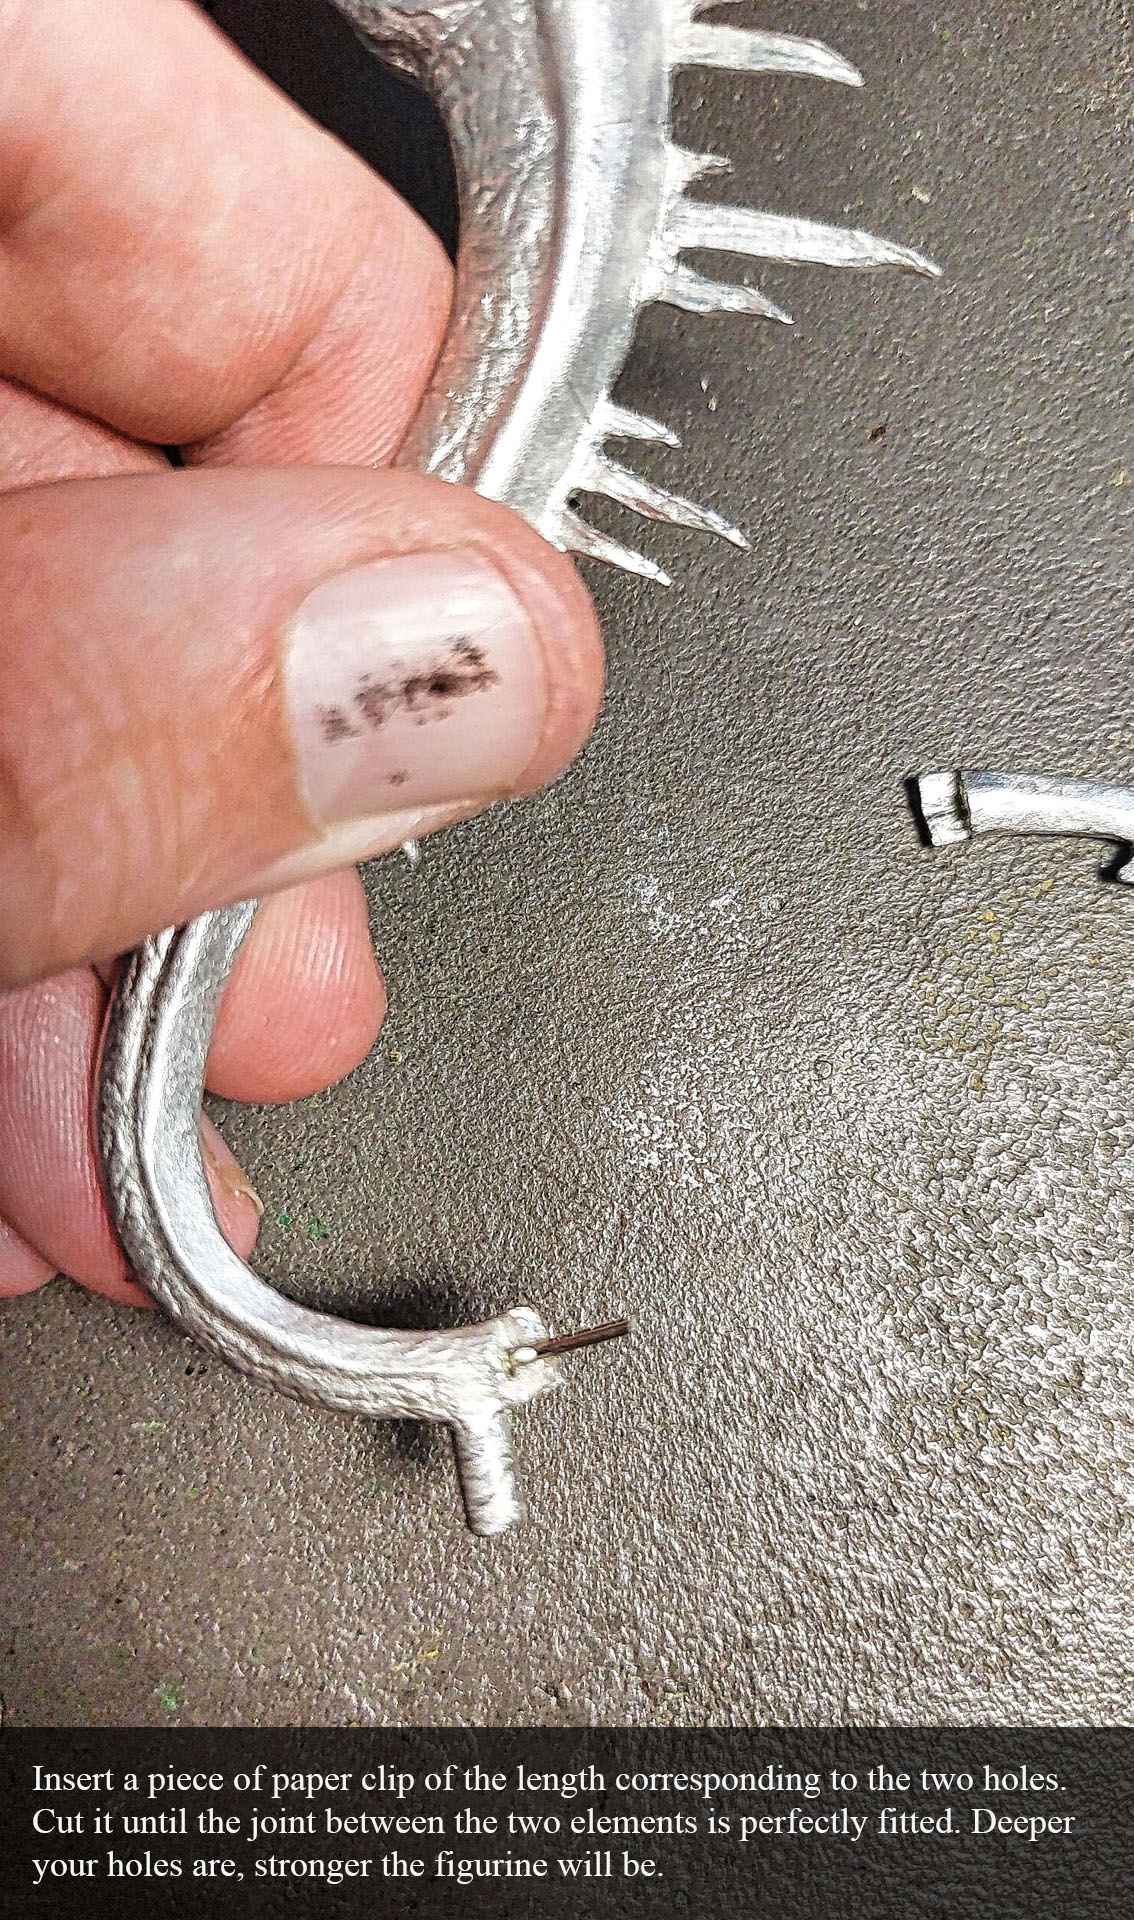
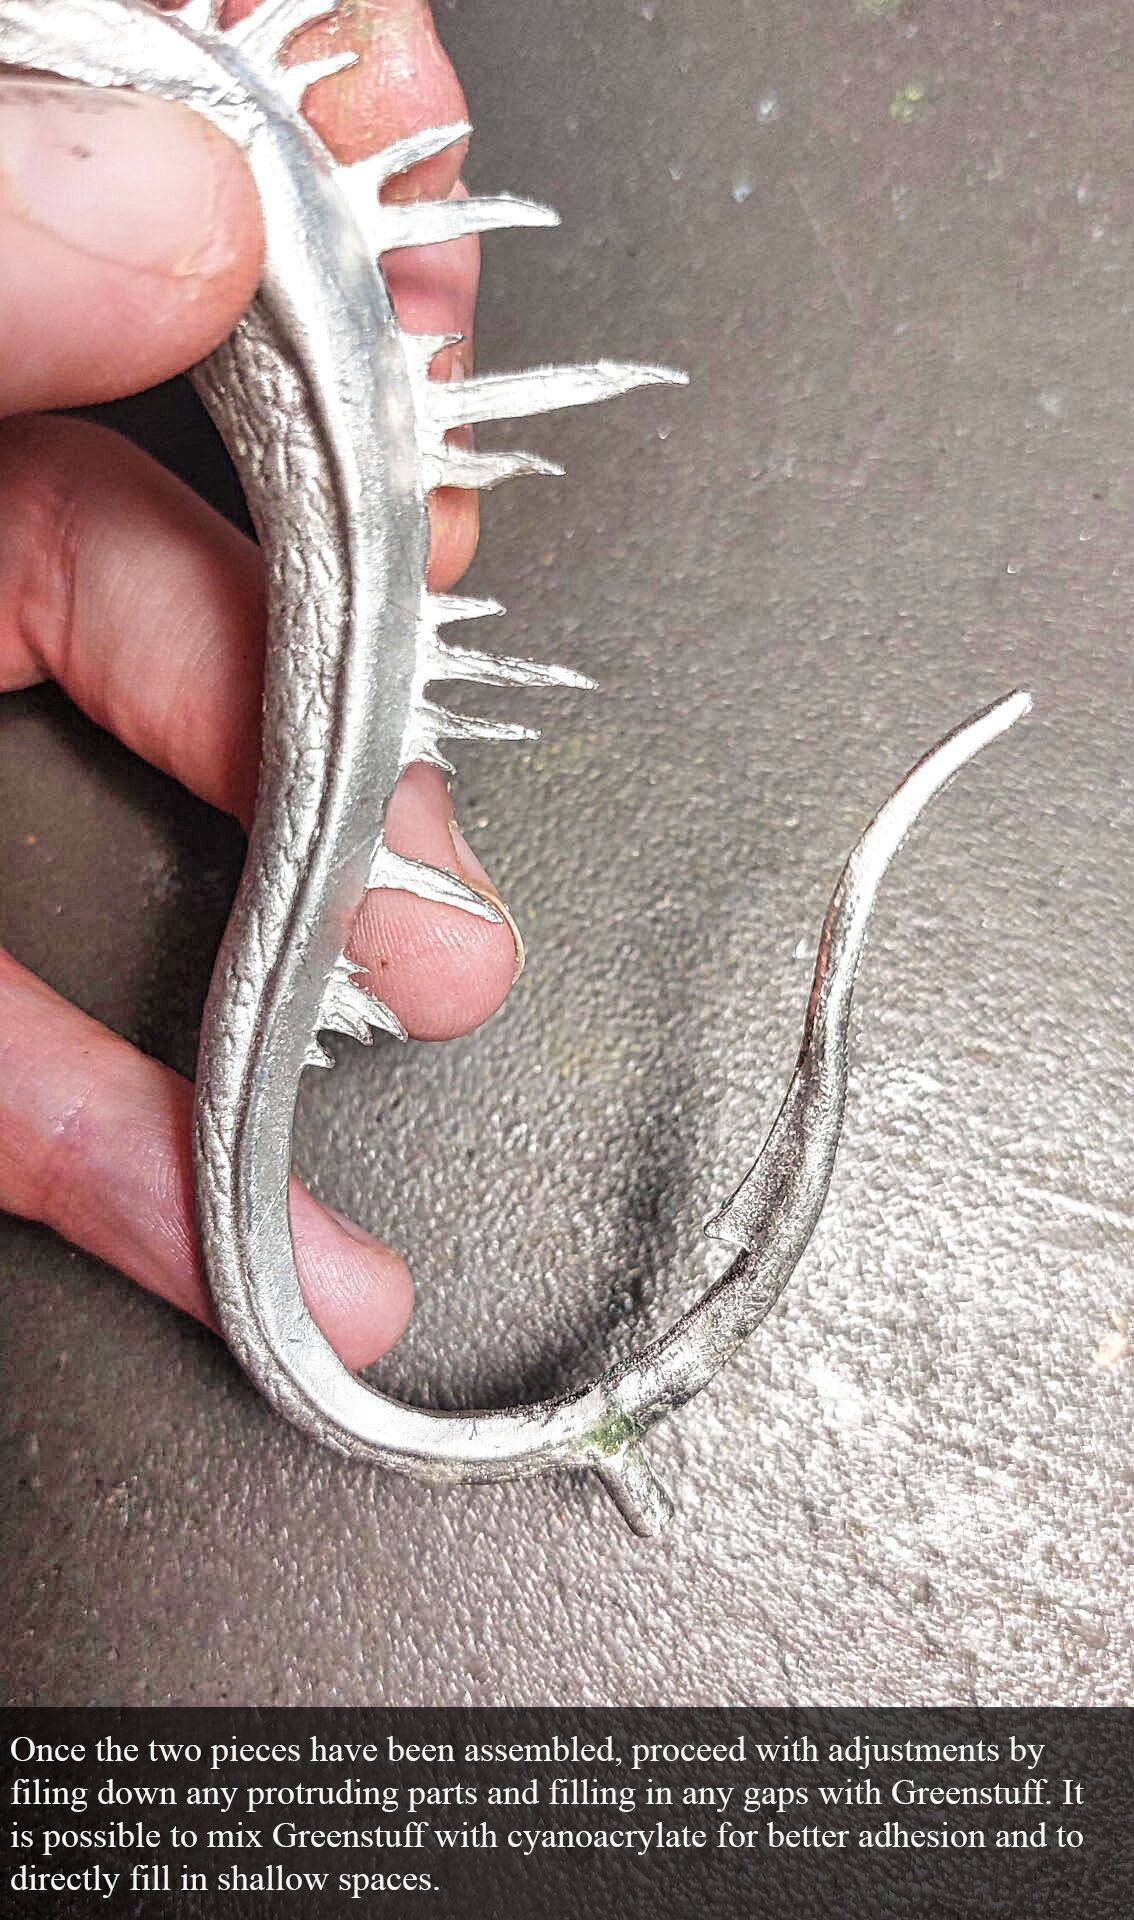
This technique can also be used to reinforce the connection between a miniature and its base. Larger models may require several reinforcement points.
Step 4: Gluing the Miniatures
The type of glue you use depends on the material of your miniature.
For metal and resin models, cyanoacrylate glue, commonly known as super glue, is generally suitable. For larger components, two-part epoxy adhesive can provide a strong bond, provided you follow the manufacturer’s instructions.
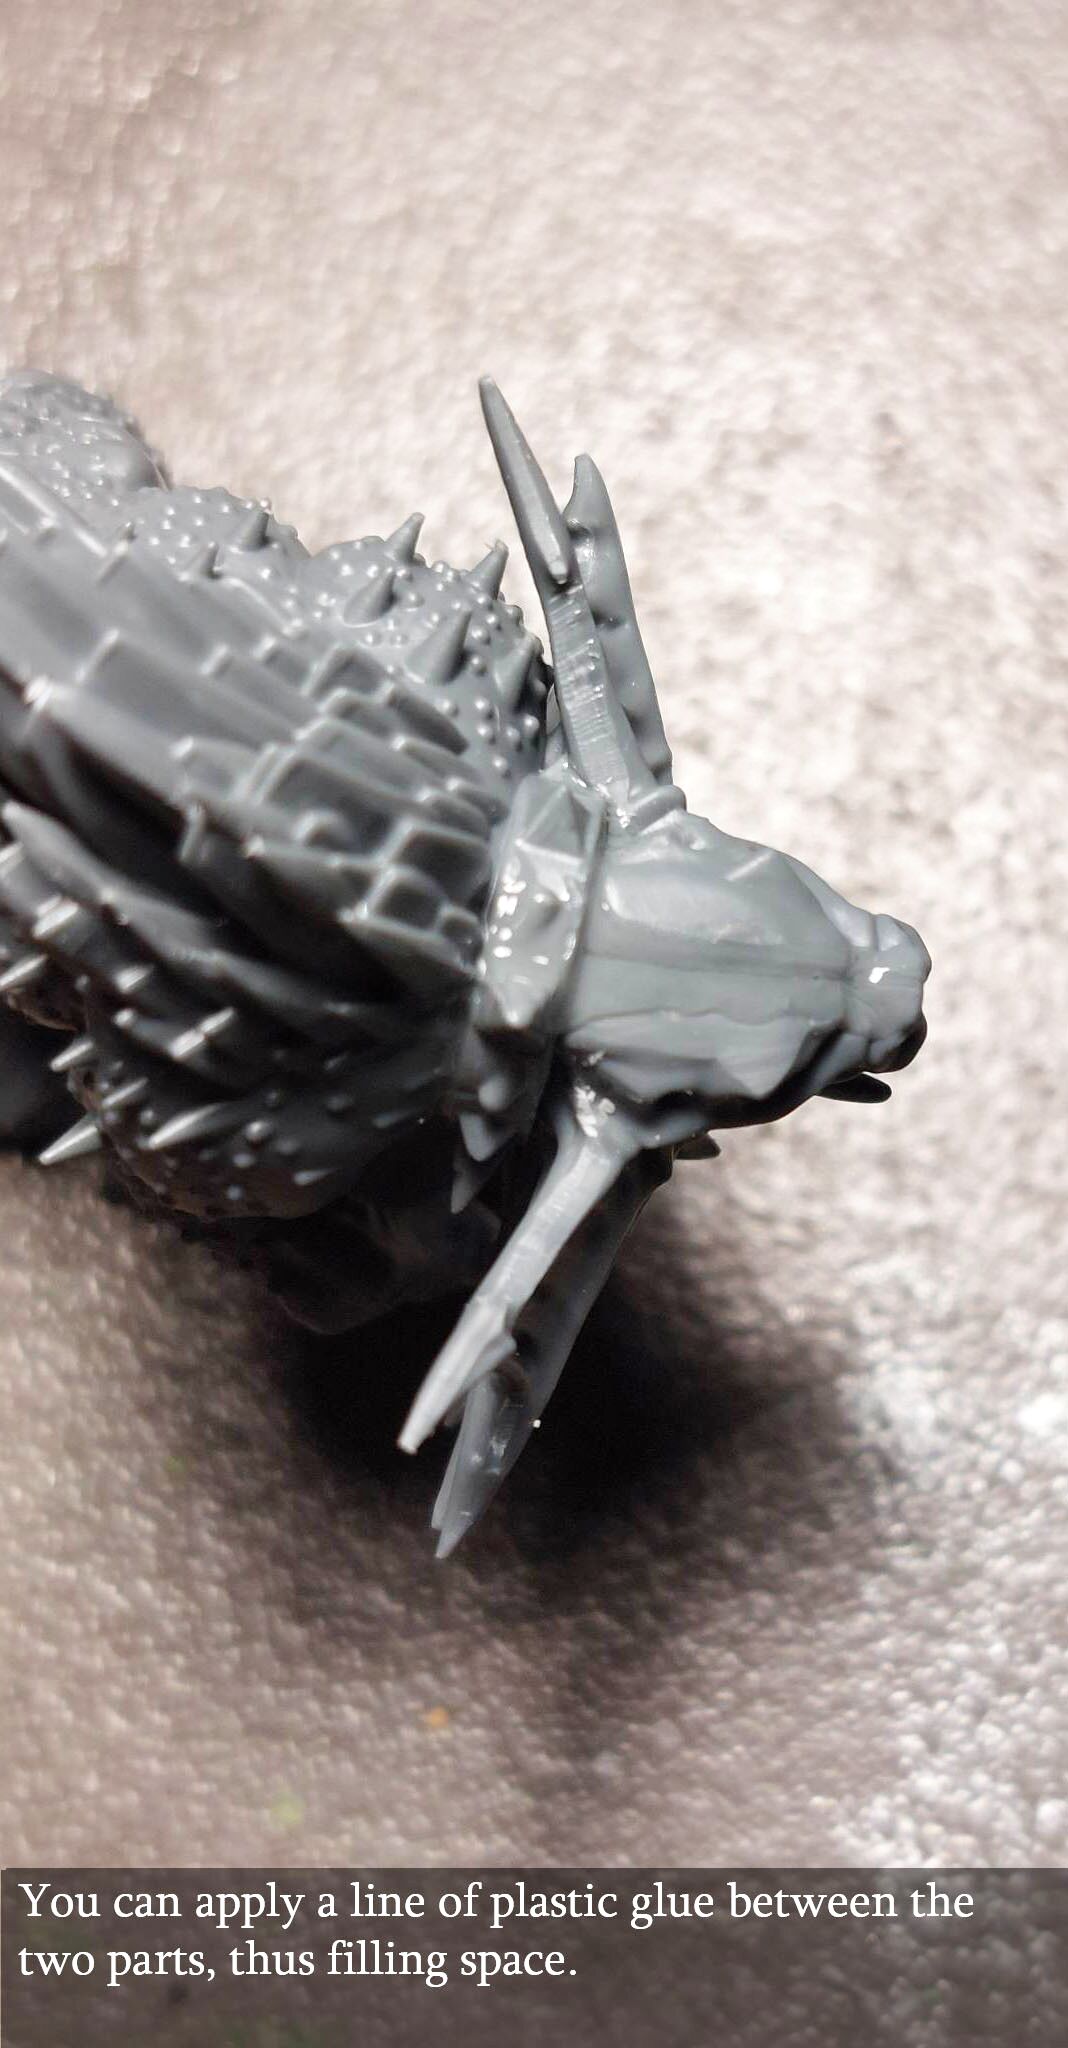
Plastic miniatures compatible with plastic cement can be assembled differently. Plastic cement slightly softens the contacting surfaces, allowing them to fuse together. This can produce cleaner joints and sometimes helps fill small gaps.
However, plastic cement is not suitable for every type of plastic. Always use a product compatible with your miniature’s material.
Whatever glue you choose, apply a controlled amount and work on one component at a time. Excess glue can damage fine details, leave visible marks or weaken certain areas. Hold the parts together and allow the adhesive to cure according to the manufacturer’s instructions before moving on.
When using plastic cement, wait until it has fully cured before filing or reworking the joint. Working too soon can deform the surface and create additional imperfections.
Finally, keep adhesives away from flames and follow the safety instructions provided on their packaging.
Step 5: Filling Gaps
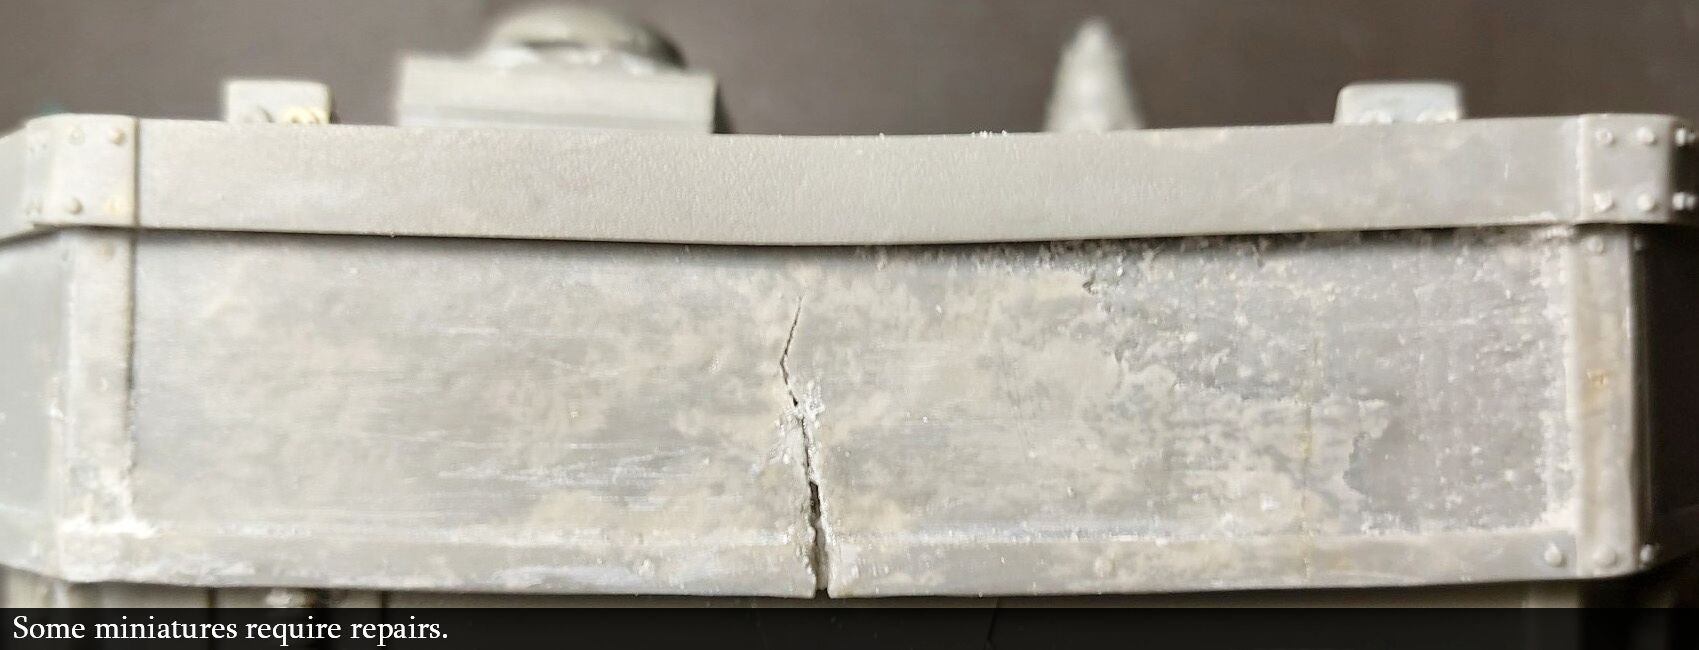
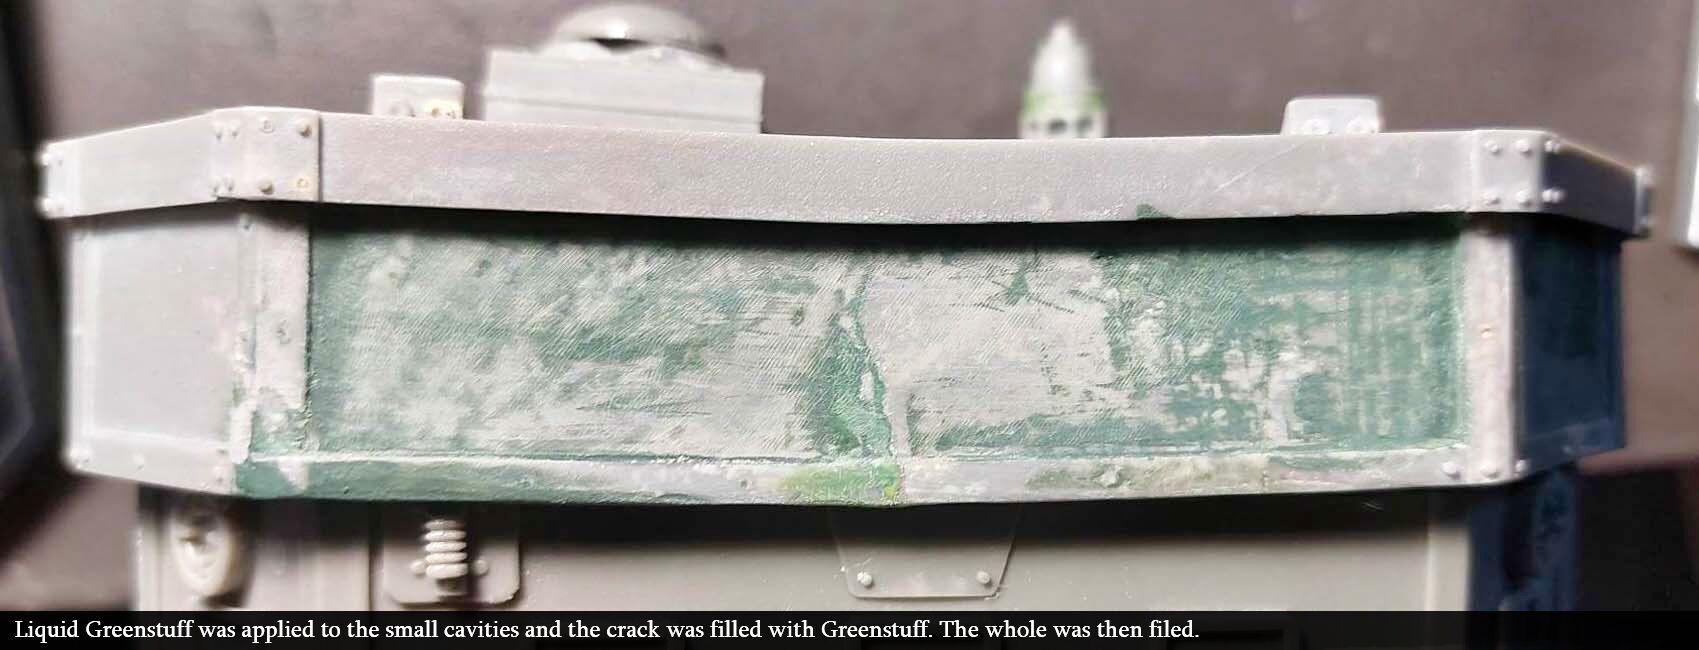
Even after careful assembly, some joints may remain visible. Filling these gaps helps conceal them and create a smooth, consistent surface before painting.
For plastic miniatures, plastic cement can sometimes be enough to deal with small gaps. For larger imperfections or other materials, you can use modelling putty such as Green Stuff or Milliput.
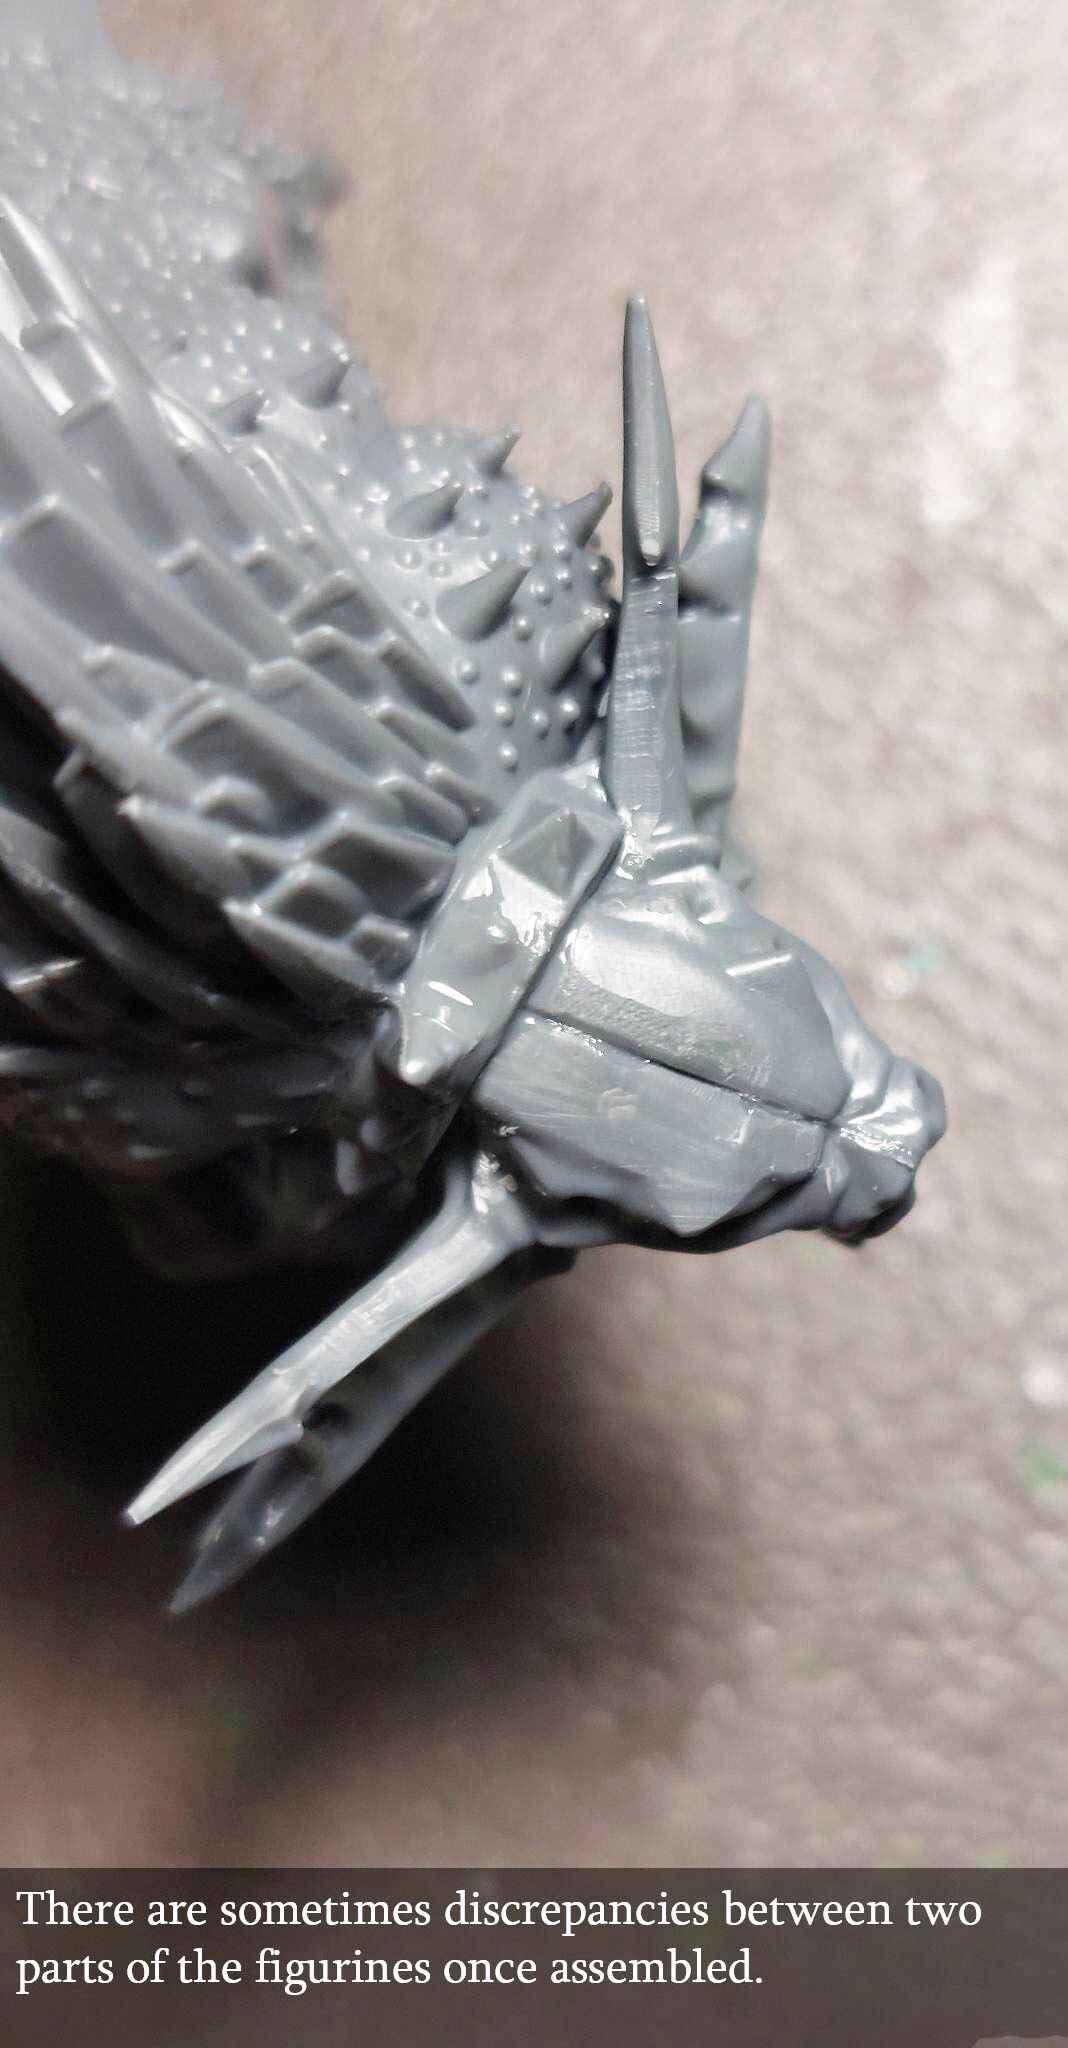
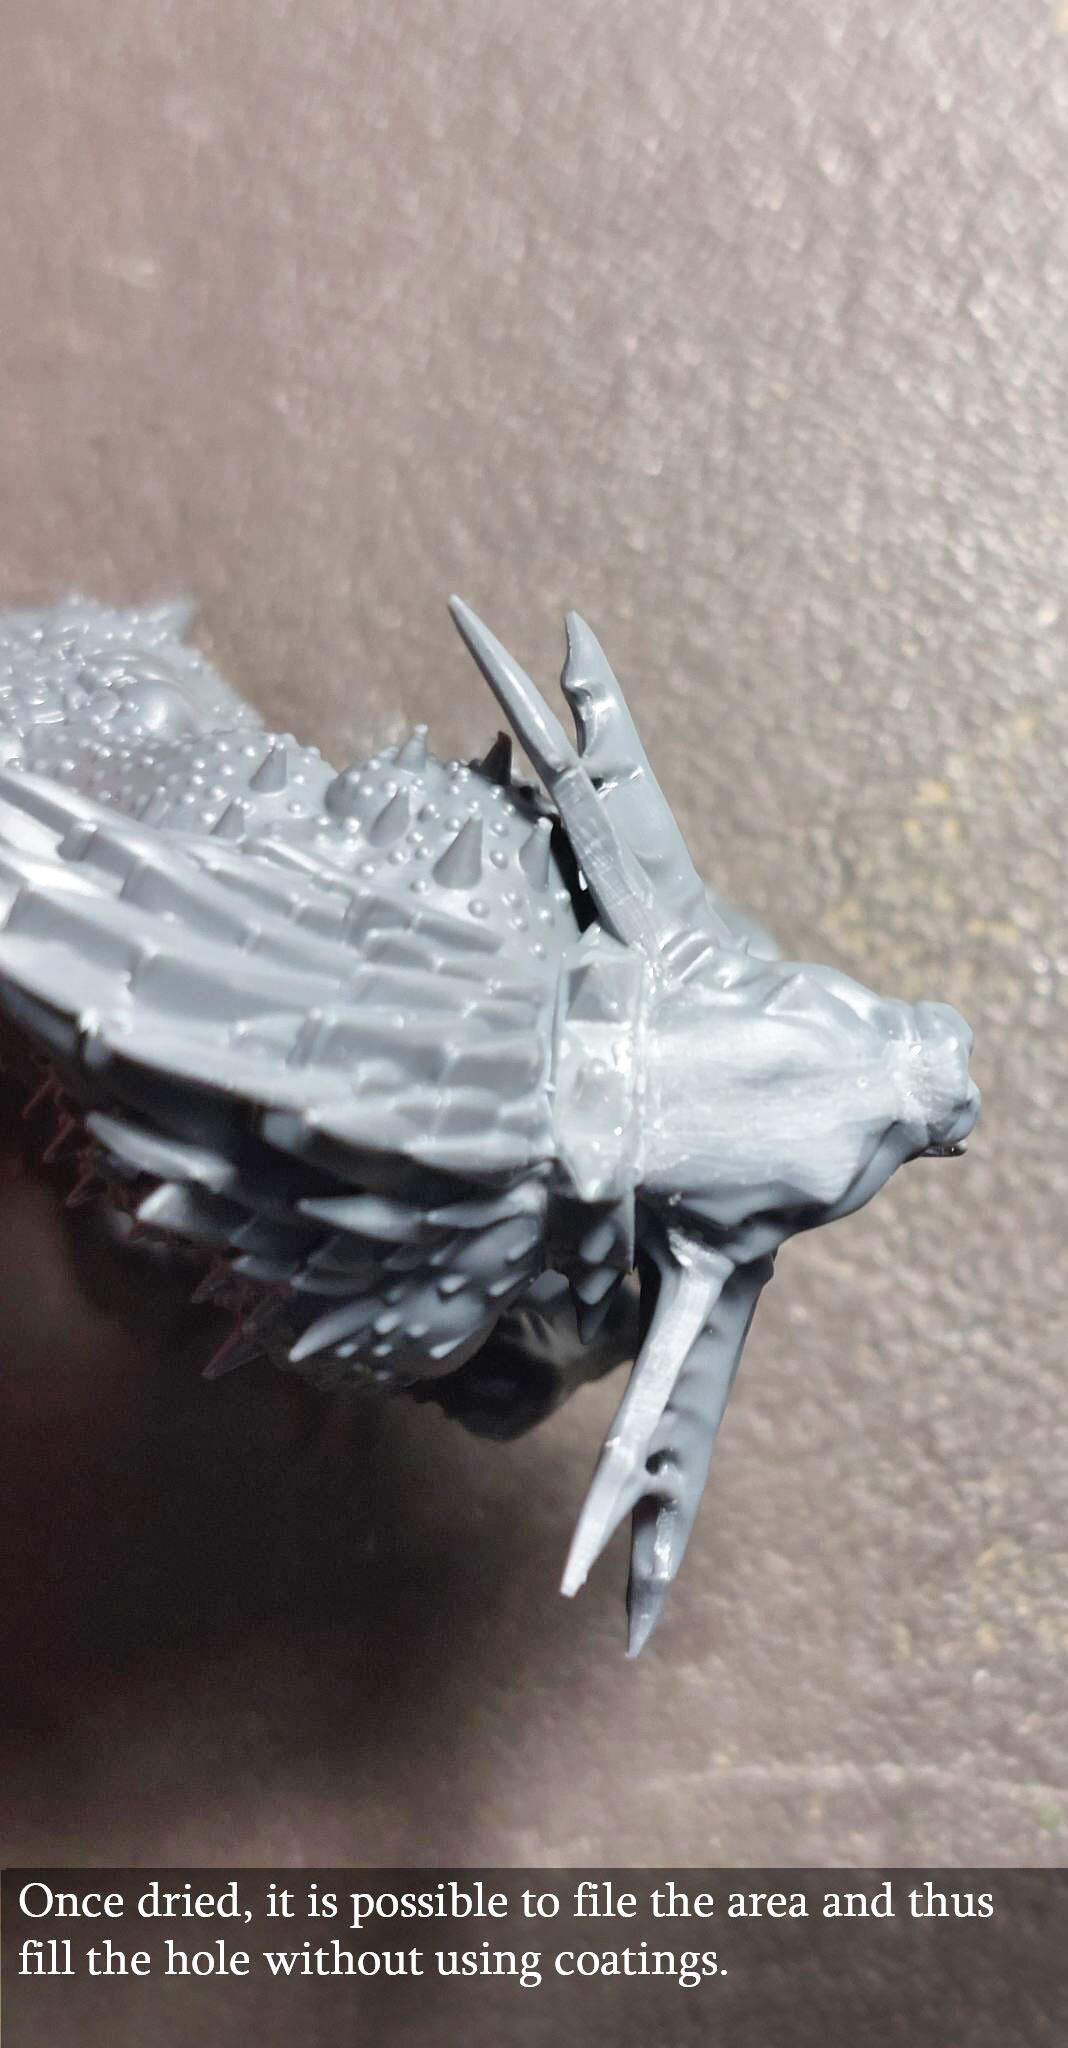
These products have different properties: some are easier to sculpt, while others are better suited to smoothing or sanding once cured.
Take a small amount of putty and apply it to the gap. Using a sculpting tool or a slightly damp colour shaper, if compatible with the product, gradually smooth the surface to create a natural transition.
For detailed areas, such as hair, clothing or armour, you can also recreate missing textures and shapes using suitable sculpting tools.
Follow the manufacturer’s recommendations for handling, curing and sanding. If specific precautions are required, including wearing gloves, make sure you follow them.
Conclusion
You have now completed the first stage of miniature preparation, which can be time-consuming but is essential for achieving a good result!
With a little practice, preparation will quickly become second nature. You will learn to identify the most noticeable imperfections and decide which miniatures need extra attention.
For an army intended for tabletop gaming, straightforward and effective preparation is often all you need. If you want to take things further and create display-quality miniatures, you can gradually explore more advanced repair and sculpting techniques.
We will cover the specific characteristics of resin miniatures in a future article. These guides take time to put together, and we apologise for not being able to publish the entire series all at once.
In the meantime, you will find the list of articles below, allowing you to follow the main stages of miniature preparation and painting in the correct order.
Don’t missed to support us on PATREON!
At the bottom of each post, you’ll find a list of all related blog entries, which we’ll update as the project evolves.
- Modelling Basics : Preparing Your Miniature for Painting
- Coming soon…
Do you have any questions, ideas, or simply want to share your thoughts? Leave a comment below! And if you enjoy our work, a little support will help us continue creating even more content.
See you soon!