Hello everyone,
The first wave has now been fully shipped by Archon Studio, and we have also received our Starter Founder Edition from our retailer. We can therefore finally get started on our first 2,000-point Zerg army.
It was therefore time for us to take a closer look at the Wave 1 Zerg units, just as we previously did with the Protoss units. We will also be putting together an article dedicated to the Tactical Cards and Faction Cards for both races, but unfortunately, we have not had time to work on them due to the various issues the blog has experienced recently.
The Units
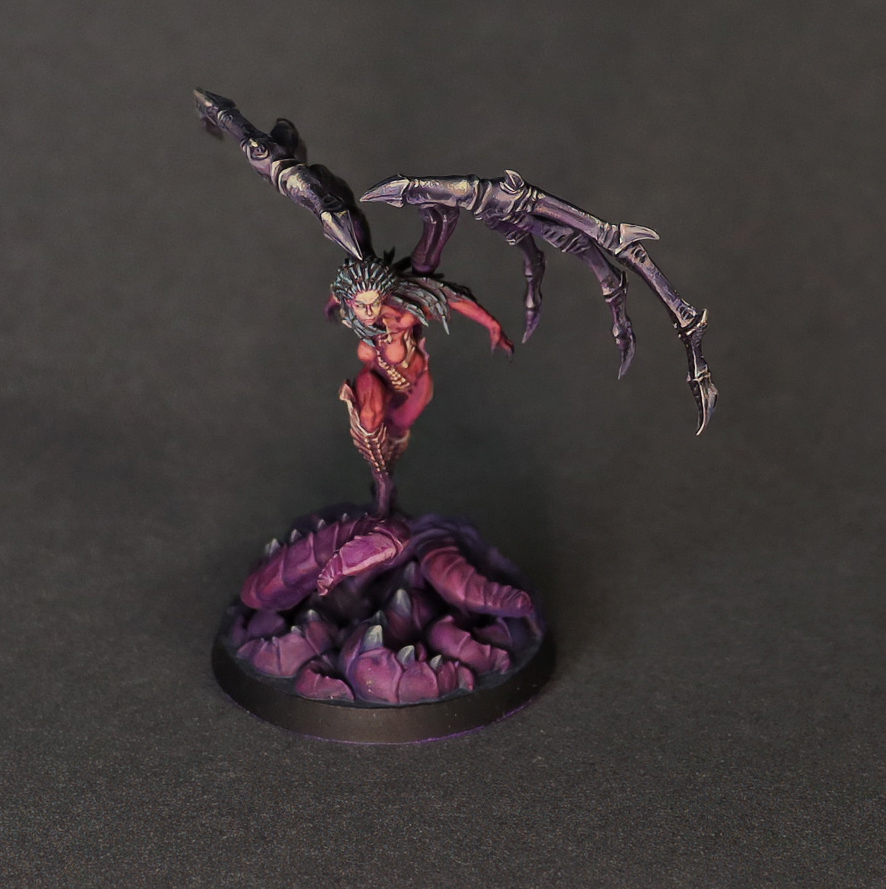
Kerrigan:
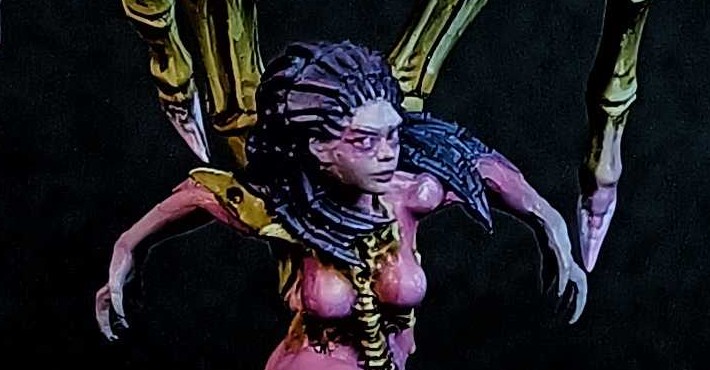
Kerrigan is obviously the iconic unit of this first Zerg wave. The Queen of Blades is a particularly interesting hero to play, even though she is more fragile than some of the other heroes available in the game. With a Speed of 7, 5+ Armour, 6+ Evasion and 9 Wounds, she nevertheless has enough mobility and durability to fully perform her role on the battlefield.
What really makes Kerrigan stand out, however, are her control abilities. Crushing-Grip allows her, during the Movement Phase, to spend 1 Biomass to activate an enemy unit within 12″, preventing it from moving or using certain abilities. She can also target an enemy unit within 18″ to gain a +2 bonus to her Evasion rolls against attacks made by that unit. This ability can significantly reduce the amount of damage she takes and forces the opponent to carefully consider the order in which they activate their units.
Kerrigan also has a ranged attack with a range of 8″, featuring 5 attacks hitting on 3+, with Surge D3 against Light and Armoured targets. Her true potential, however, becomes apparent when she goes on the offensive. Thanks to Leaping Strike, she can make a Place (6) when she is not engaged, allowing her to cover very large distances and reach combat from positions the opponent may not expect. In melee, her 6 attacks deal 2 damage each and benefit from Critical Hit (2), allowing her to automatically inflict 4 damage whenever she scores two critical hits. Her Impact (4) 4+ on the charge also provides an additional source of damage that can make a difference.
Kerrigan is therefore a fairly technical hero to use, but she offers a huge number of possibilities. She is not simply there to deal damage: she can also neutralise an enemy unit and control the flow of the turn. With good Biomass management, she becomes a true centrepiece of a Zerg army.
Queens:
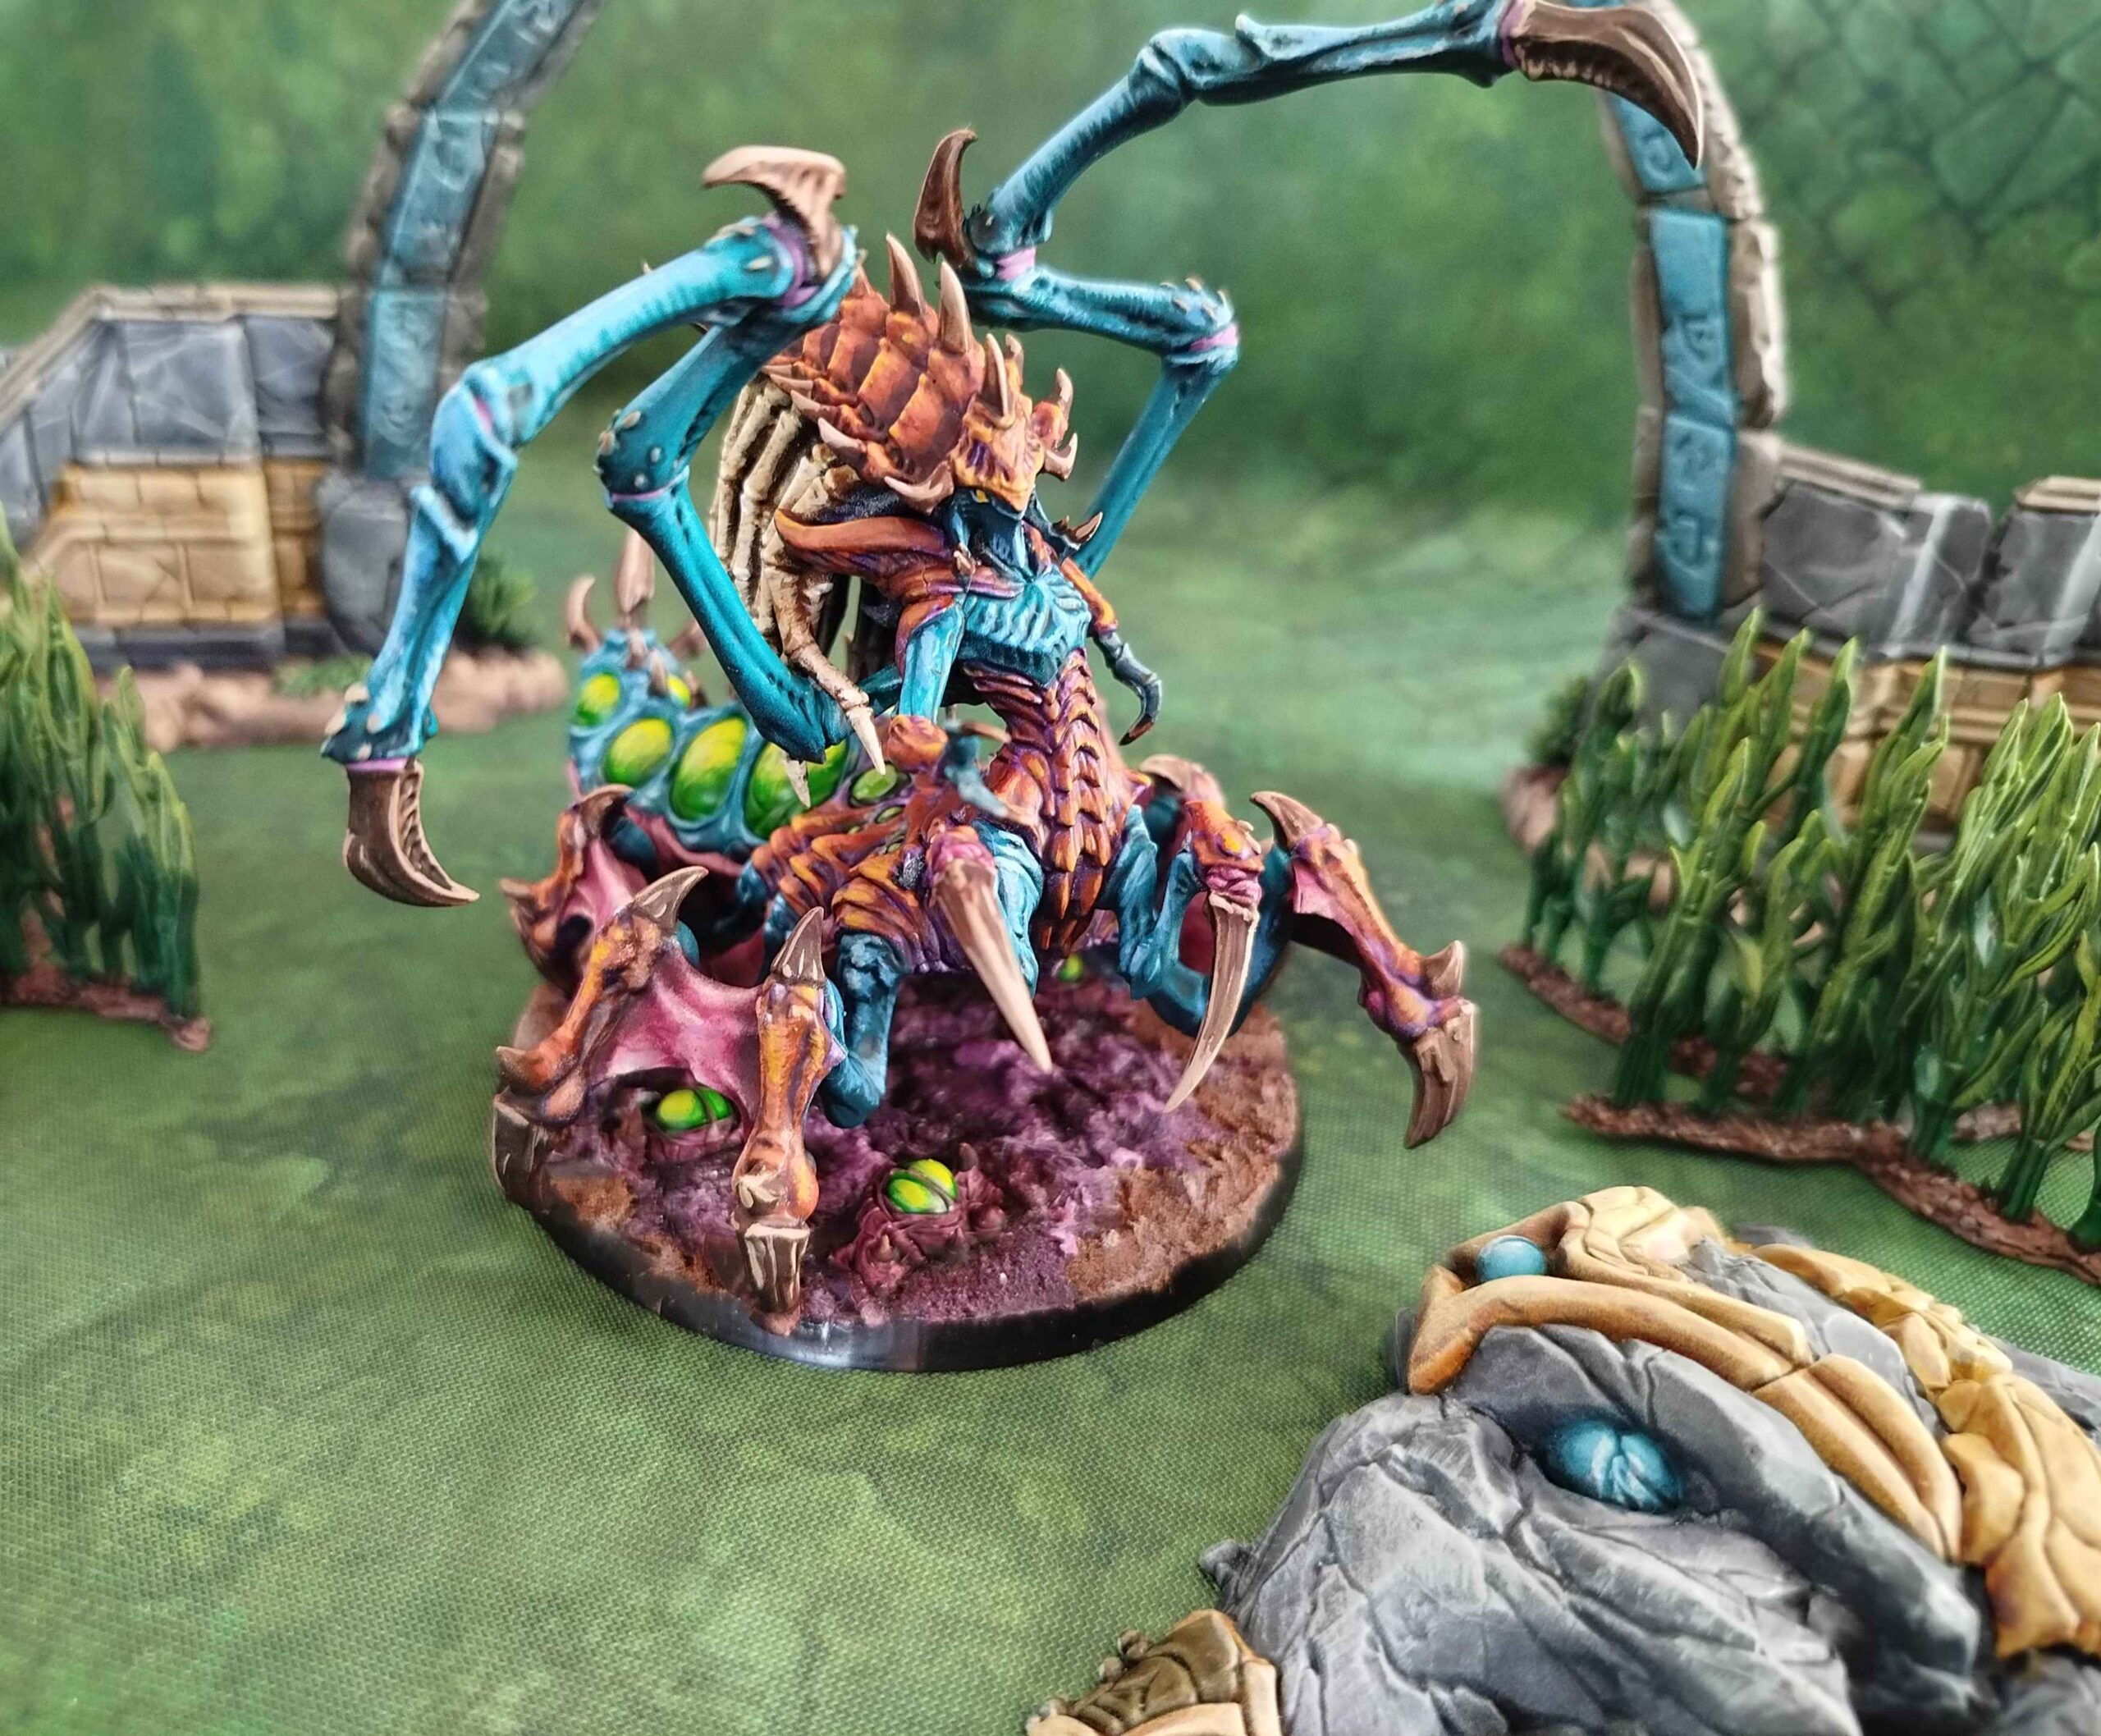
Queens are probably one of the most important units for building a Zerg army around the Creep. With a Speed of 4, 4+ Armour and 9 Wounds, they are clearly not the most mobile units, but they more than make up for this weakness with their numerous support abilities. Thanks to Restoration, they can remove negative effects from a unit within 4″, while Transfusion allows them to protect a friendly unit by blocking 2 damage. Their main role, however, remains developing the Creep Tumours, creating synergies with many Zerg units.
The Queen also has an interesting rule when accompanied by a large mass of Zergs. If she is within range of 7 friendly models, she can reduce the Biomass cost of one of her abilities by 1 once per round. This naturally encourages players to keep Queens in the middle of the swarm rather than leaving them isolated.
She also has a few offensive capabilities. Her ranged attack has a range of 6″ with 4 attacks hitting on 4+, with Surge D3 against Light units for 2 damage. Against Flying units, the range increases to 12″ and Surge also works against Armoured units. Her Impact (4) 3+ also makes her relatively effective when charging, although her melee profile is considerably less impressive.
Finally, two upgrades further expand her profile. The first gives her +2 Speed while she is on the Creep, which we find particularly interesting for a unit whose role is precisely to develop and exploit this network. The second allows a unit within 6″ to count as +1 Supply when controlling or contesting an objective. This upgrade is more situational, but it can still be important in certain lists, particularly when the battle revolves around objective control.
Zerglings:
It is difficult to imagine a Zerg army without a true swarm of Zerglings. They are one of the army’s main basic units and are available in very large numbers, with 12 models for just 1 Supply or 18 for 2 Supply. Fast and inexpensive, they are primarily designed to harass the opponent, capture objectives and slow down enemy units while waiting for heavier reinforcements to arrive.
With a movement of 4/8, 4+ Evasion and the ability to roll 2D6 when charging and keep the best result, they have excellent mobility. Their charge also allows them to generate Impact (1) on a 5+. Individually, these impacts may seem insignificant, but once you start rolling the dice for a unit of 18 Zerglings, the sheer quantity can quickly make a difference.
In melee, each Zergling has 2 attacks hitting on 4+, with Surge D3 against Light units. They are therefore particularly effective against lightly protected targets, but much less convincing against heavily armoured enemies.
Zerglings also have several upgrade options. Burrow Ambush, for example, allows them to perform a Place (18), further increasing their ability to appear where the opponent least expects them. Adrenal Glands gives them Precision (2), while Shredding Claws allows them to gain Surge against Light and Armoured units.
Their main weakness, however, remains their poor durability: they die quickly and can also find themselves blocked in certain areas of the battlefield. But that is precisely where their numbers become their greatest strength.
Swarmlings:
Swarmlings take the Zergling concept and push the idea of overwhelming numbers even further. They are available in groups of 18 for just 1 Supply and have a profile similar to Zerglings, including a Speed of 4/8. Their 5+ Evasion even makes them slightly harder to hit. On the other hand, their melee attacks are considerably less impressive, as they hit on 5+ and have no Surge.
Their real strength comes from their ability to bring destroyed models back into play. For just 1 Biomass, they can bring back 2 Swarmlings, or even 3 when they are on the Creep. The new models must be placed in contact with the unit, which can sometimes allow them to gain a few precious inches for controlling the battlefield.
Swarmlings therefore primarily serve as a board-control unit. They are not there to deal heavy damage, but to create multiple threats, contest objectives and force the opponent to spend resources eliminating them. Their ability to return to the battlefield makes them particularly effective at maintaining pressure and occupying key areas of the table.

Raptors:
Raptors take the Zergling concept and push their mobility even further. Their movement increases to 5/9, allowing them to move quickly across the table and easily jump from one objective to another. They otherwise retain their combat profile, charge rules and the various upgrades available to Zerglings.
Their real strength, however, comes from their exceptional mobility. Raptors can ignore certain impassable terrain features of size 4 or less and freely change elevation. This allows them to make much better use of the different levels of the battlefield and reach positions that would normally be difficult for other Zerg units to access. They also have an ability that allows them to spend 1 Biomass to increase their Impact Hits by 1, further improving their potential when they charge.
Kerrigan Swarm Raptors:
Kerrigan Swarm Raptors are a variant restricted to Kerrigan’s sub-faction. They retain the characteristics of the standard Raptors, but are considerably more durable thanks to their 5+ Armour and 2 Wounds per model.
They are available in units of six and retain their excellent mobility as well as their ability to ignore certain terrain. Their charge is particularly impressive, as they benefit from a fixed +2 bonus, allowing them to make very long charges with great consistency.
They also have Impact (2) on a 5+ and can further improve this potential for 1 Biomass. In melee, their attacks hit on 3+ and have Surge D6 against Light and Armoured units.
Their main weakness is the lack of Burrow Ambush, but this is largely compensated for by their mobility and, above all, by the possibilities provided by the Omega Worm in a Kerrigan army. They are therefore an extremely fast assault unit, capable of crossing the table and striking a target that thought it was safely out of range.
The Omega Worm:
The Omega Worm is a rather unusual piece, as it can only be used with the Kerrigan’s Swarm card and cannot be deployed normally. With 10 Wounds and 5+ Armour, however, it can withstand a few attacks before being destroyed.
As a Structure, it cannot activate, perform actions or control objectives. Its entire purpose therefore revolves around the abilities it provides to the army. It provides Detection within 6″ and generates a 6″ Creep zone.
More importantly, it serves as a true entry point for Zerg units. Each turn, units representing up to 2 Supply can treat the Omega Worm as a table edge and return to reserve when they finish their movement in contact with it. This opens up a huge number of possibilities for repositioning units and launching attacks on multiple fronts.
Roaches:
Roaches represent the first true wall of the Zerg army. Available in groups of three for just 1 Supply, they have 4 Wounds each, 3+ Armour and 5+ Evasion, giving them impressive durability for their cost. They are also the only unit to naturally have the Burrow ability.
For 2 Biomass, an unengaged Roach can burrow or emerge during any phase. When it starts its activation while burrowed, it also benefits from Heal (2). This means that a Roach can finish its activation, burrow and then recover Wounds on the following turn before returning to the attack.
Their offensive profile is fairly straightforward, with an 8″ ranged attack featuring three attacks hitting on 3+ and dealing 1 damage, as well as two melee attacks per model. They also have Devastating Charge with Impact (2) on a 4+.
Their upgrades further reinforce their role. Burrow Ambush allows them to make greater use of surprise, Tunneling Claws allows them to move while remaining burrowed and pass through enemy bases, while another upgrade can give them +1 Speed, or even +2 while on the Creep. Finally, Hydriodic Bile improves their ranged attacks against Light units.
Roaches therefore seem to us to be an excellent unit for adding durability to a Zerg army. Their 3+ Armour allows them to withstand many attacks, while their ability to disappear underground adds an additional and particularly interesting tactical dimension.
Corpsers and Roachlings:
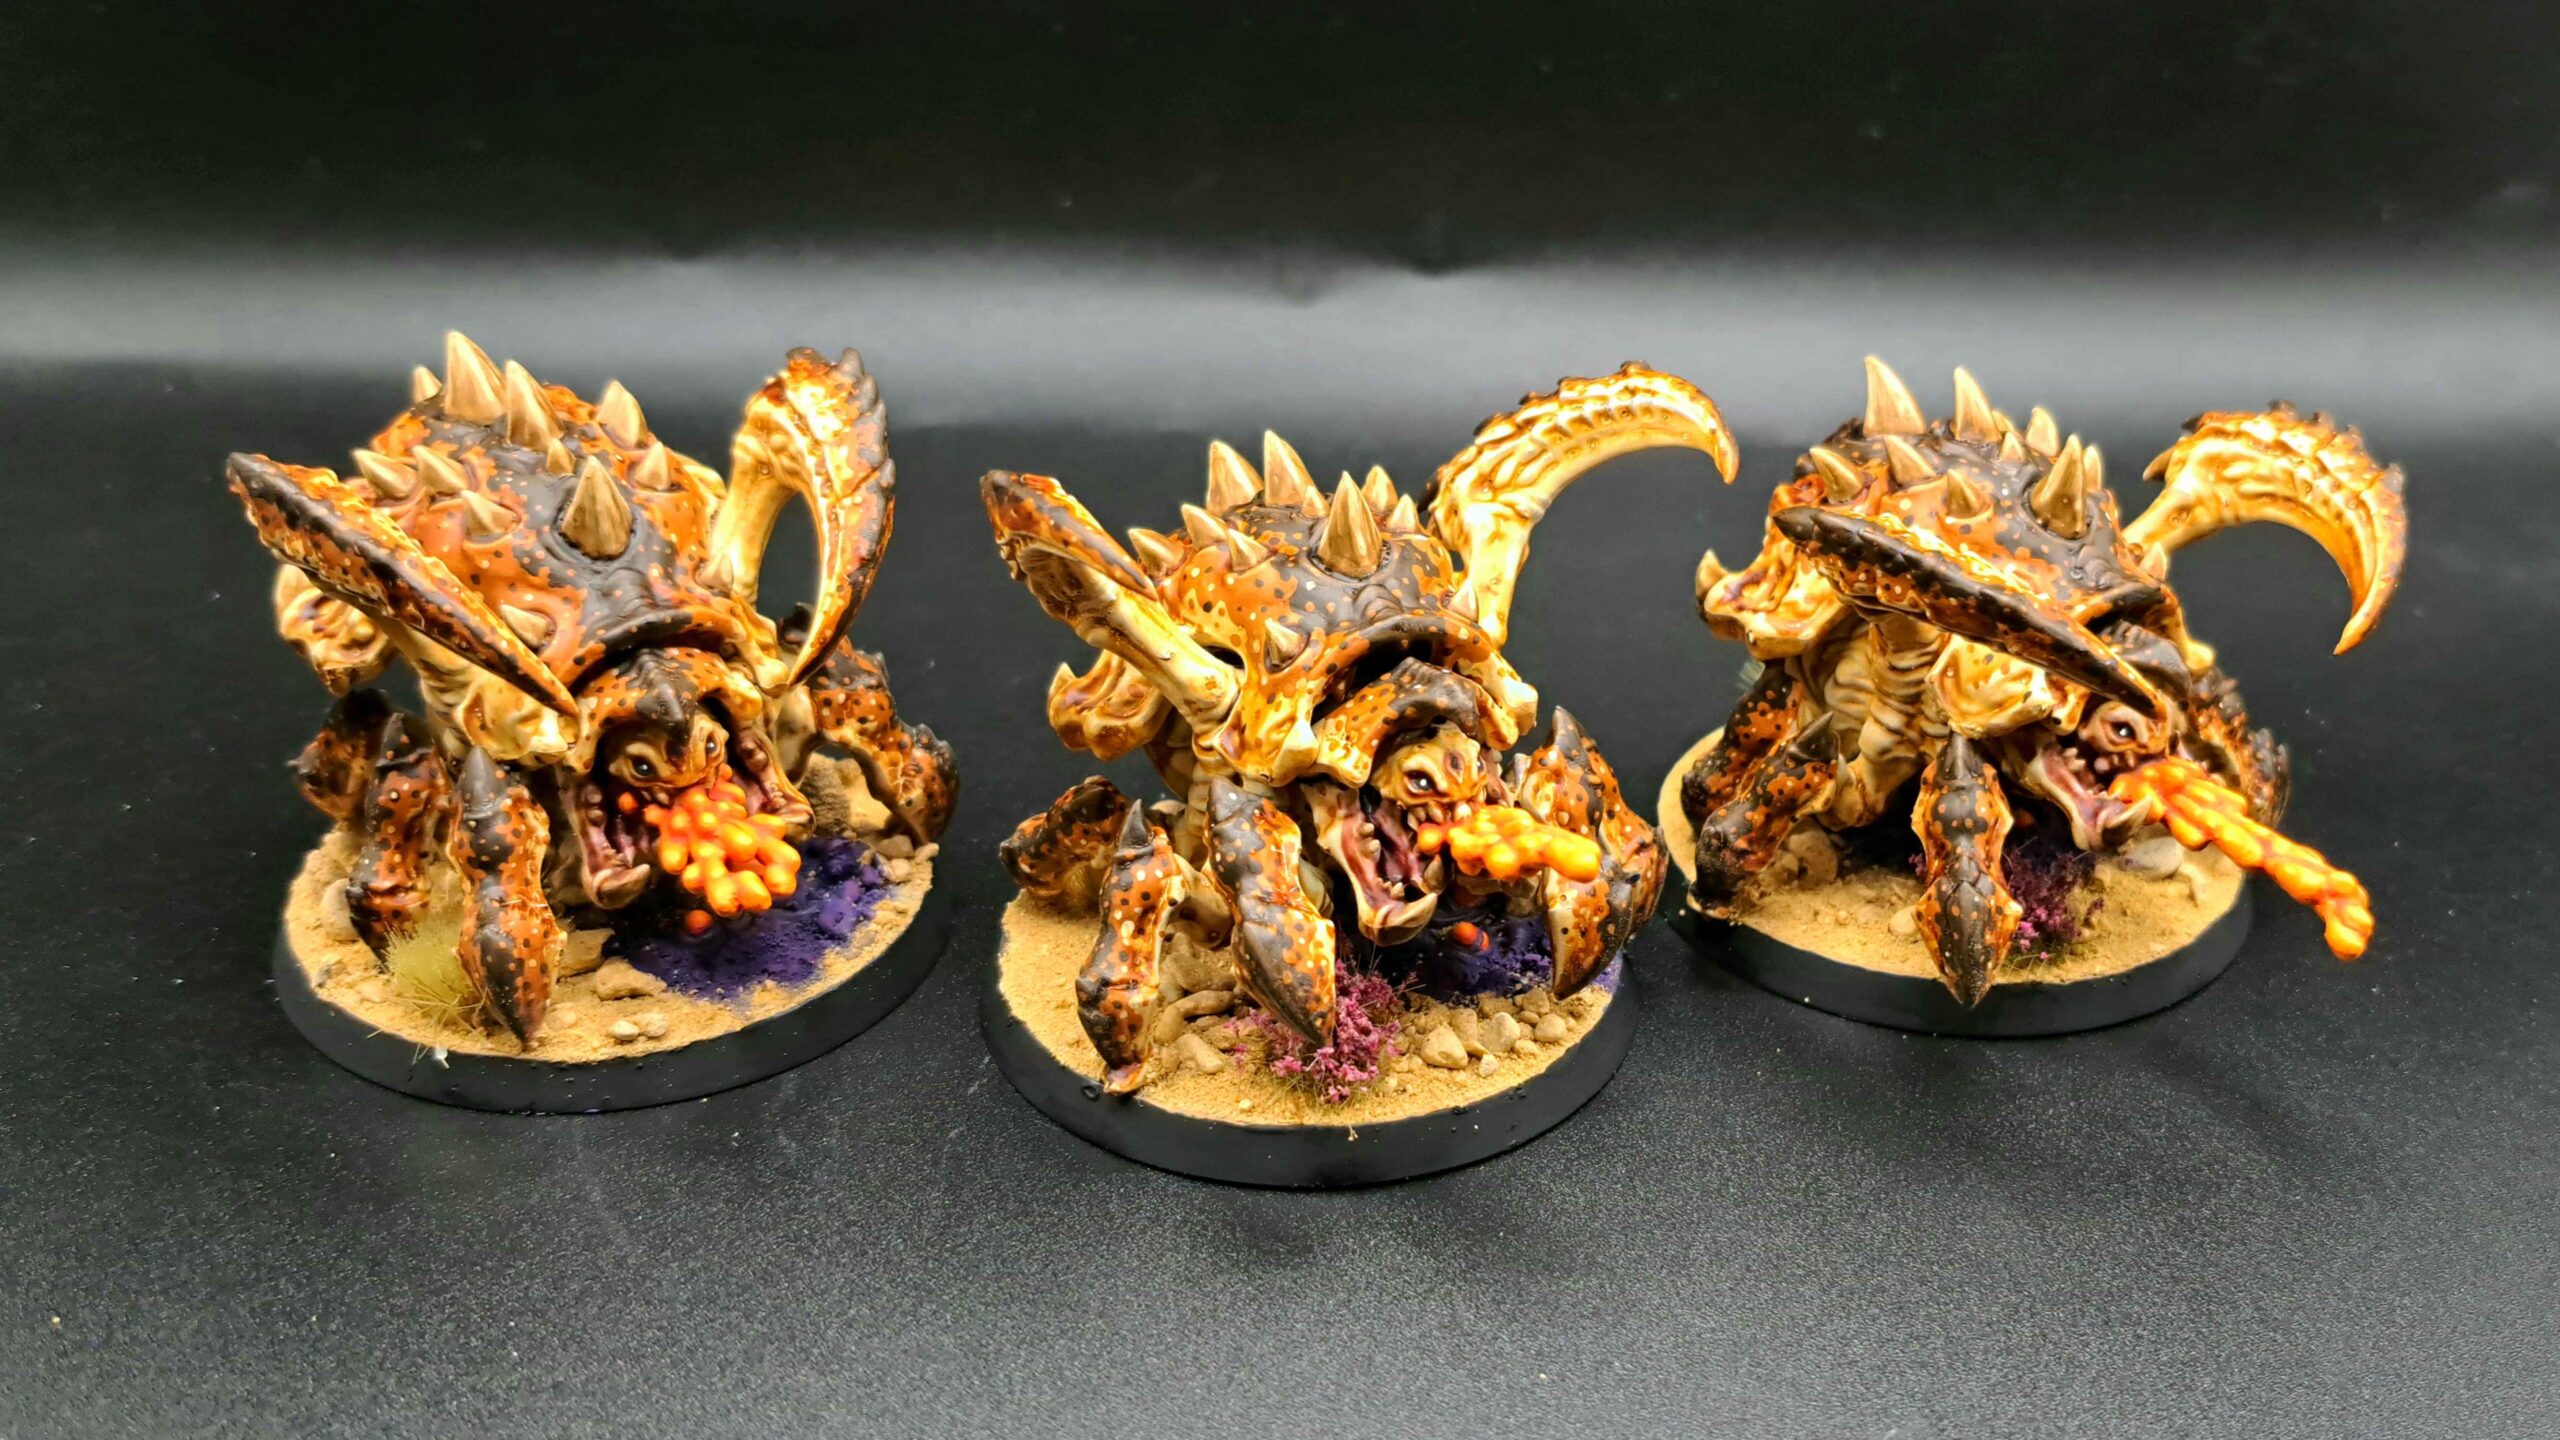
Corpsers are a Roach variant that is more focused on melee combat. They have a slightly less effective ranged attack, but gain additional power when charging and in melee. Their real speciality, however, is their ability to summon Roachlings once per game for 2 Biomass.
Roachlings do not cost any Supply and are particularly fragile. They cannot shoot or use Burrow and only have two attacks hitting on 4+. However, their real value has absolutely nothing to do with their ability to deal damage. Their primary role is to act as a screen, block a passage or engage an enemy unit at a moment when it least expects it.
Once summoned, Roachlings are immediately activated and can therefore still charge during the Assault Phase. This can be particularly useful for blocking an enemy unit after it has moved or forcing it to spend an additional activation. They are therefore exactly the kind of models you can sacrifice without hesitation. They are not there to survive, but to waste the opponent’s time and disrupt their battle plan.
Viles:
Viles are another Roach variant, but this time one that is more focused on ranged combat. They have four ranged attacks instead of three, at the cost of a weaker Impact when charging. They otherwise retain the same general profile and the same upgrade options as Roaches.
Their special ability, Debilitating Saliva, is particularly interesting. When an enemy unit within 8″ declares a ranged attack, the Vile can spend 1 Biomass to give it a -1 penalty to its hit rolls. This can quickly reduce the effectiveness of an enemy unit that relies heavily on ranged attacks.
Hydralisks:
Finally, Hydralisks are probably one of the most iconic units in this first Zerg wave and, moreover, our personal favourite. Available in groups of two for 2 Supply or four for 3 Supply, they bring significant firepower to the army. With a range of 12″, three attacks per model hitting on 3+ and Surge D3+1 against Light and Armoured units, they have an extremely versatile ranged profile.
Each hit deals 2 damage, allowing them to threaten both infantry and certain armoured units. They can also target Flying units, allowing them to cover a large proportion of the threats present on the battlefield.
Their Lunge reaction is also particularly interesting. When a friendly unit within 10″ is targeted by a ranged attack, the Hydralisks can move towards the attacker. This allows them to remain relatively far back before moving into a more advantageous position when the opportunity to strike back presents itself.
Their four upgrades are all passive. They can gain Burrow Ambush, increase their range to 16″ thanks to Long Range, benefit from Tough (1) on the first Armour roll of each activation, or use Lurking to improve their ability to avoid ranged attacks. When they are on the Creep and have not moved, this last ability becomes even more interesting.
And that concludes our analysis of the first Zerg units. This overview certainly overlaps with some of the information already available online, but above all, it allows us to highlight our own approach to the faction and the way we intend to play it.
If you have taken a look at our 2,000-point list, you will probably have understood the strategy we want to develop: an army largely built around the Creep, making the most of the many synergies it provides to the different Zerg units.
The next step will therefore be to take a look at the Terran units. This time, there will be no 2,000-point army list, as we are still waiting for the rules for Mira Han before we truly begin building our future Terran army.
As always, we’d love to hear your thoughts. Feel free to share your own experiences and opinions in the comments, we’re looking forward to discussing the game with the community!
Don’t missed to support us on PATREON!
Questions, ideas, spelling error or just want to share your thoughts? Leave a comment below! And if you enjoy our work, a little support would help us keep creating more and more content.
See you soon!