Hello everyone,
After introducing you to Antouam’s magnificent Zerg army, today we’re taking a closer look at a particularly important element for bringing this army to life: Creep!
For this new step, Antouam is once again sharing his method and a few tips for creating the organic effect that covers the bases of his Zergs.
To begin with, I sometimes glue Creep tumors directly onto the base, but I don’t always use them, as I like to vary the look from one base to another. I then add a few small puddles of wood glue, again in a fairly random way. This helps create different shapes and prevents all the bases from looking exactly the same.
I then let the glue dry for around 5 to 10 minutes. This can obviously vary depending on the glue you use, so you may need to do a few tests to find the right timing. Once the glue has set enough, I apply a few drops of liquid super glue directly onto it.
I’m using liquid super glue here rather than gel super glue, which I haven’t tested with this technique yet. The reaction creates small raised areas and irregular shapes that give the Creep a much more organic appearance.
Once this step is complete and everything is completely dry, I apply AK Rough Terrain texture to the rest of the base. However, you need to be particularly careful about where the miniature’s feet will be positioned. With Roaches, for example, I usually leave certain areas clear so that I can correctly place the miniature back onto the base.
I do this step with the miniatures removed from their bases. Using a white zenithal light, I can fairly easily spot the old glue points and therefore get a good idea of where the feet were positioned. This allows me to apply the texture around those areas without creating raised sections directly underneath the miniature’s feet.
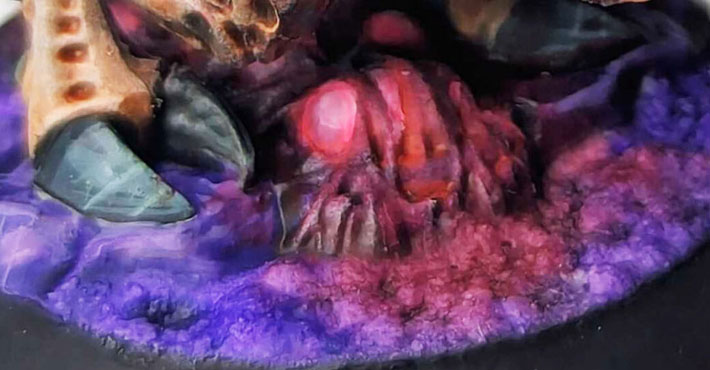
Once the texture is completely dry, I move on to painting. I start with Citadel Volupus Pink, then add Druchii Violet. I can also mix the two colors directly while they are still wet to create smoother transitions.
The main goal is to keep the pink more concentrated around the Creep areas. This creates a subtle glowing effect and gives the impression that the Creep itself is emitting a faint light, while the violet gradually blends into the rest of the base.
Once everything is dry, I pick out the small bubbles and various Creep growths with a light color, similar to Light Flesh. This helps bring out these small details and adds more contrast to the overall effect.
To finish, I apply a little Vallejo Fluorescent Red, slightly diluted. I mainly place it on the areas I want to emphasize and around the Creep to strengthen the glowing effect.
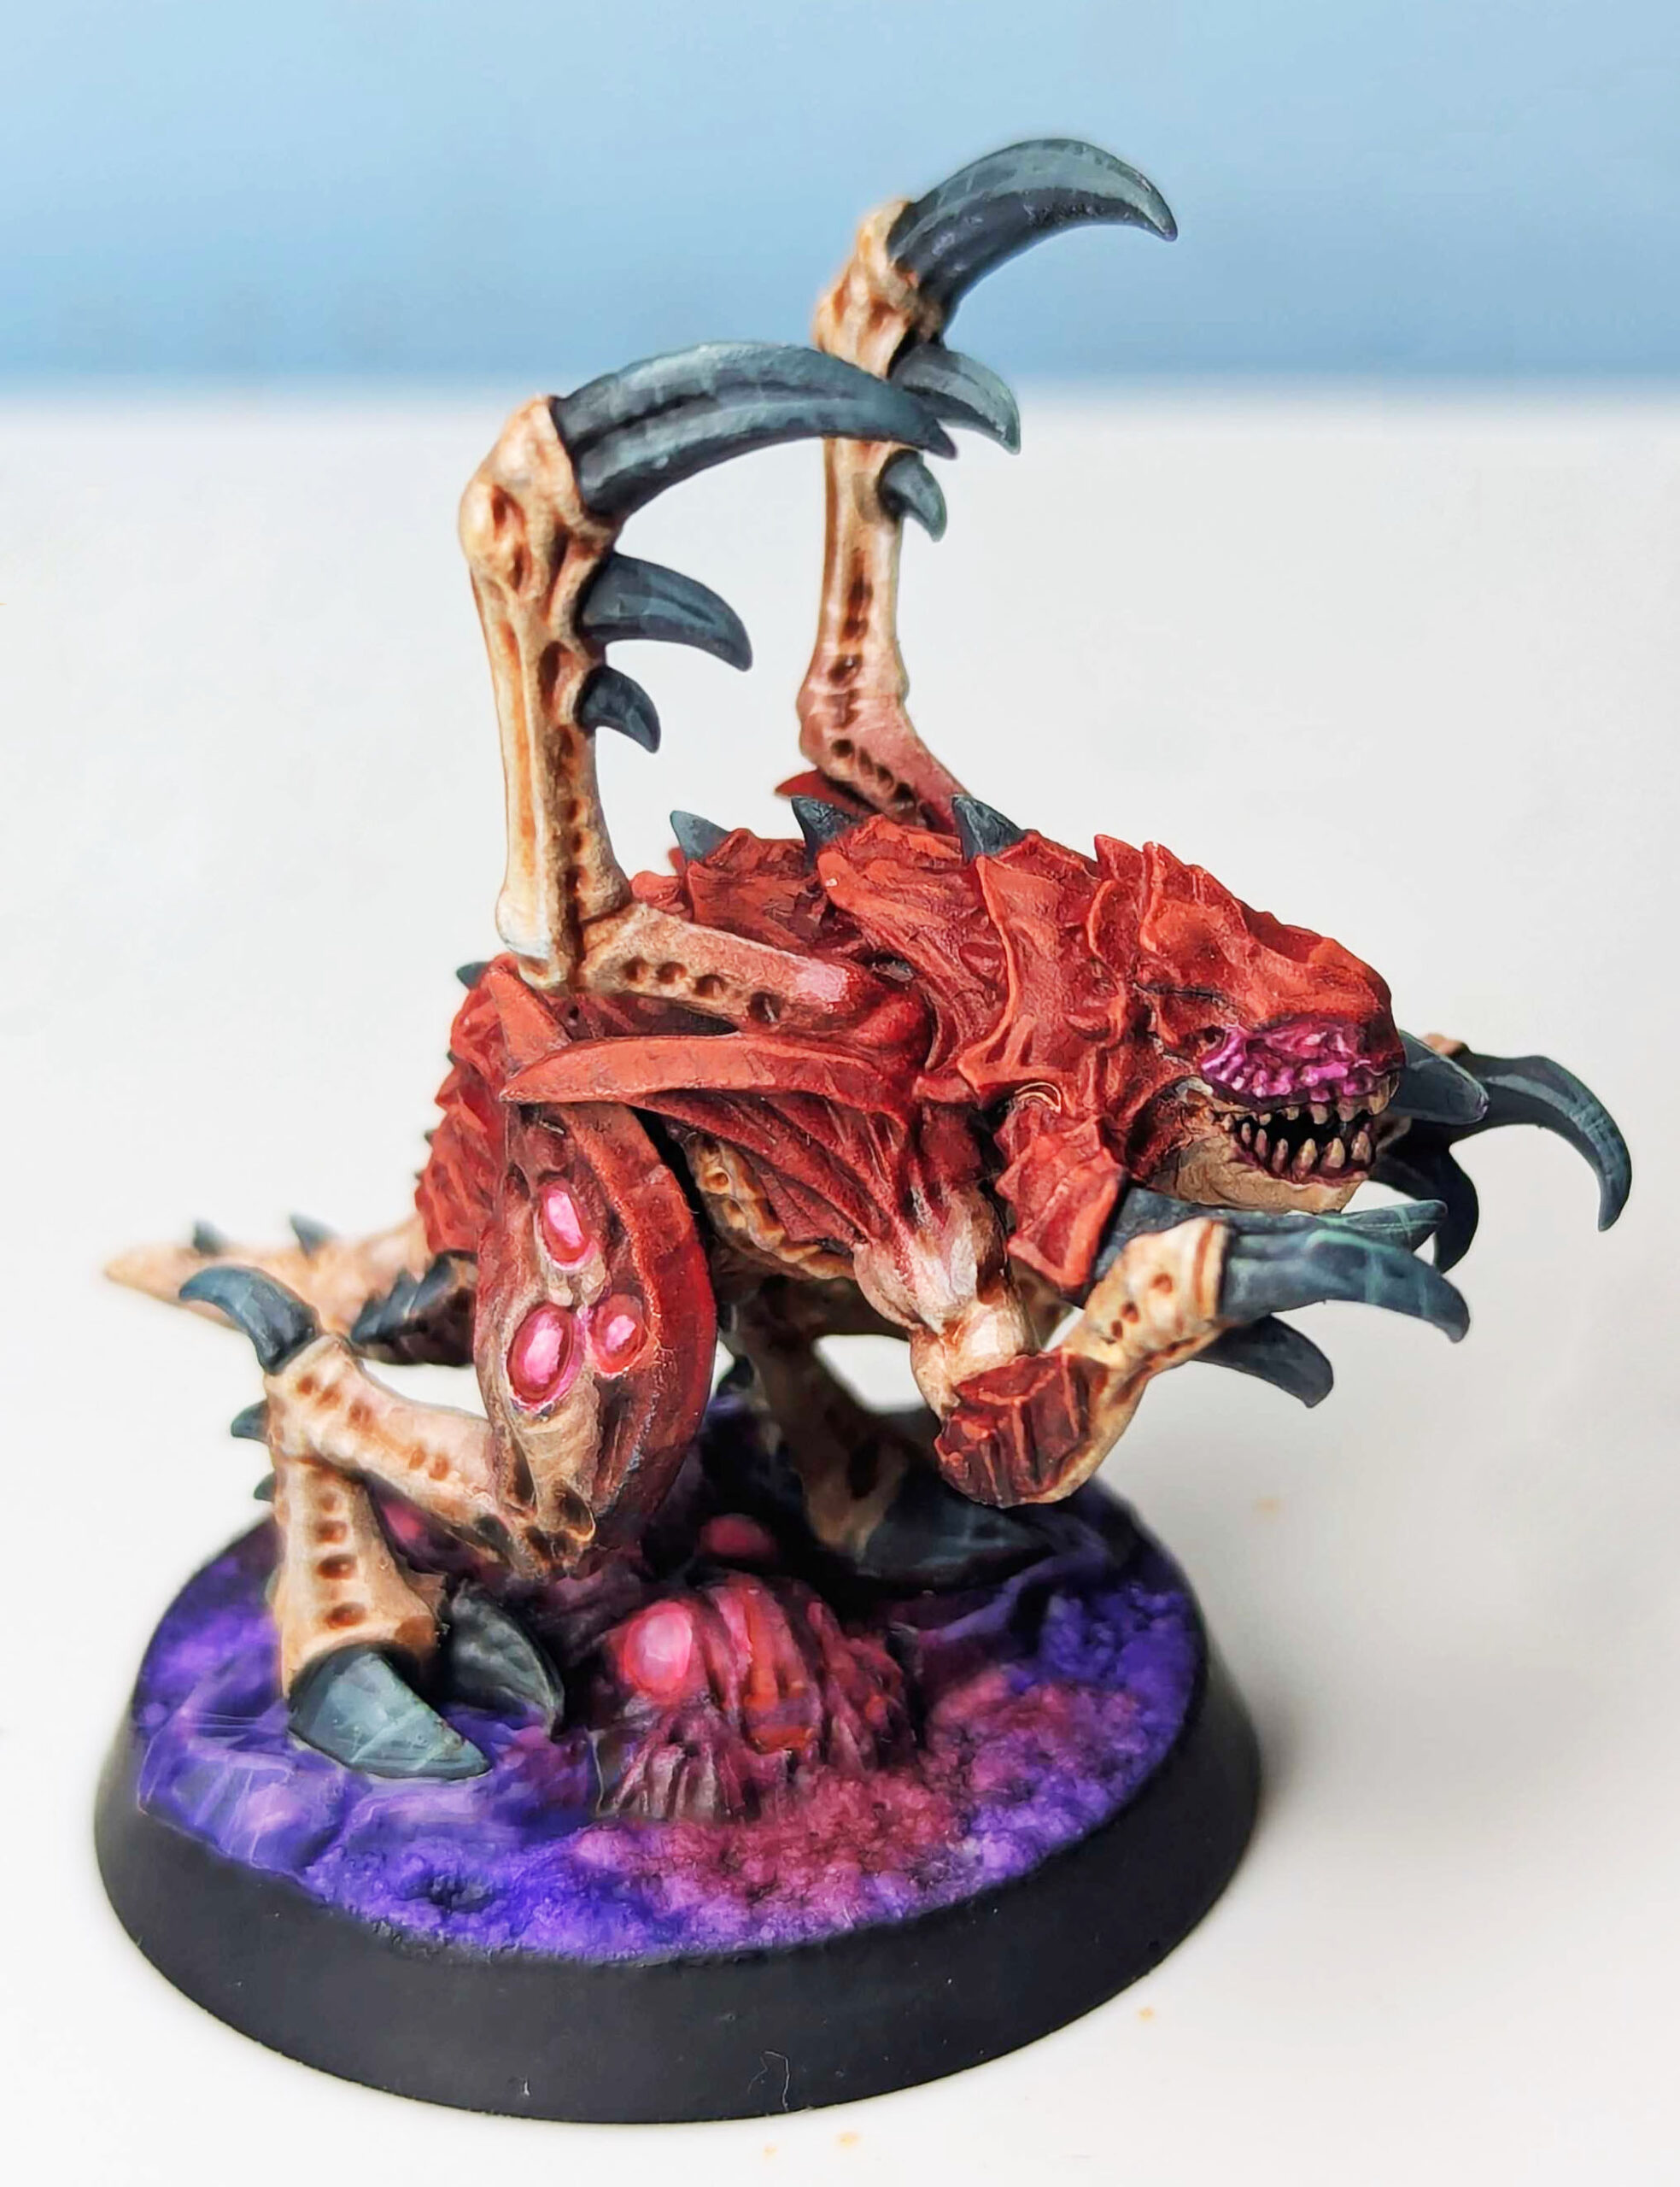
And there you have it! With this method, you can create fairly simple Creep, but it immediately adds a lot of character to your Zerg bases. I deliberately vary the amount of Creep, the puddles, and the textured areas so that every base looks different, while still maintaining a consistent overall appearance across the army.
A big thank you to Antouam for this tutorial and for sharing his method with us. Feel free to adapt the technique to your own miniatures, and above all, have fun experimenting with shapes and colors to create your own version of Creep!
Don’t missed to support us on PATREON!
Questions, ideas, spelling error or just want to share your thoughts? Leave a comment below! And if you enjoy our work, a little support would help us keep creating more and more content.
See you soon!